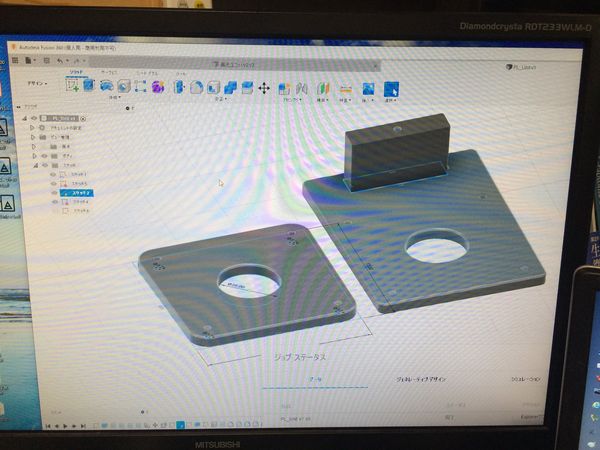
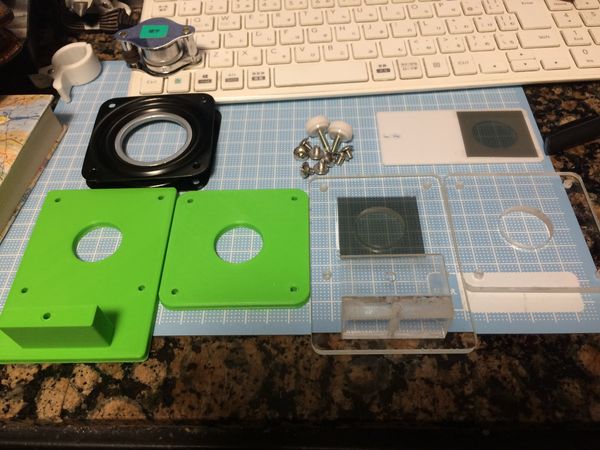
Creating a CAD file using Fusion360 on a Windows PC. This software is a little bit tough software for use, but it is free for personal use, so I'm trying my best to get used to it. In this case, 4mm threaded holes could not be printed properly, so 3.2mm pre-holes were drilled and a tap was used to make screw holes.
Previous acrylic plate made (right) and 3D printer specification (left). It is important to
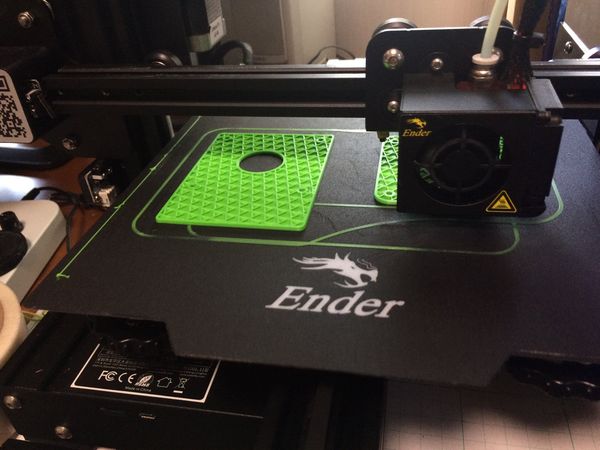
3D model sliced by Cura is being printed by a 3D printer. The thickness of the plate is 5mm, the same as the current thick acrylic plate. It takes about four and a half hours to print in 0.2mm increments, which is the default.
Then, I can manage to tighten the screws by applying some weight and screwing them in with a screwdriver. (Note: I decided to use a 4mm tap after all. (Note: I ended up using a 4mm tap for this. I decided to give priority to the convenience of easy assembly.)
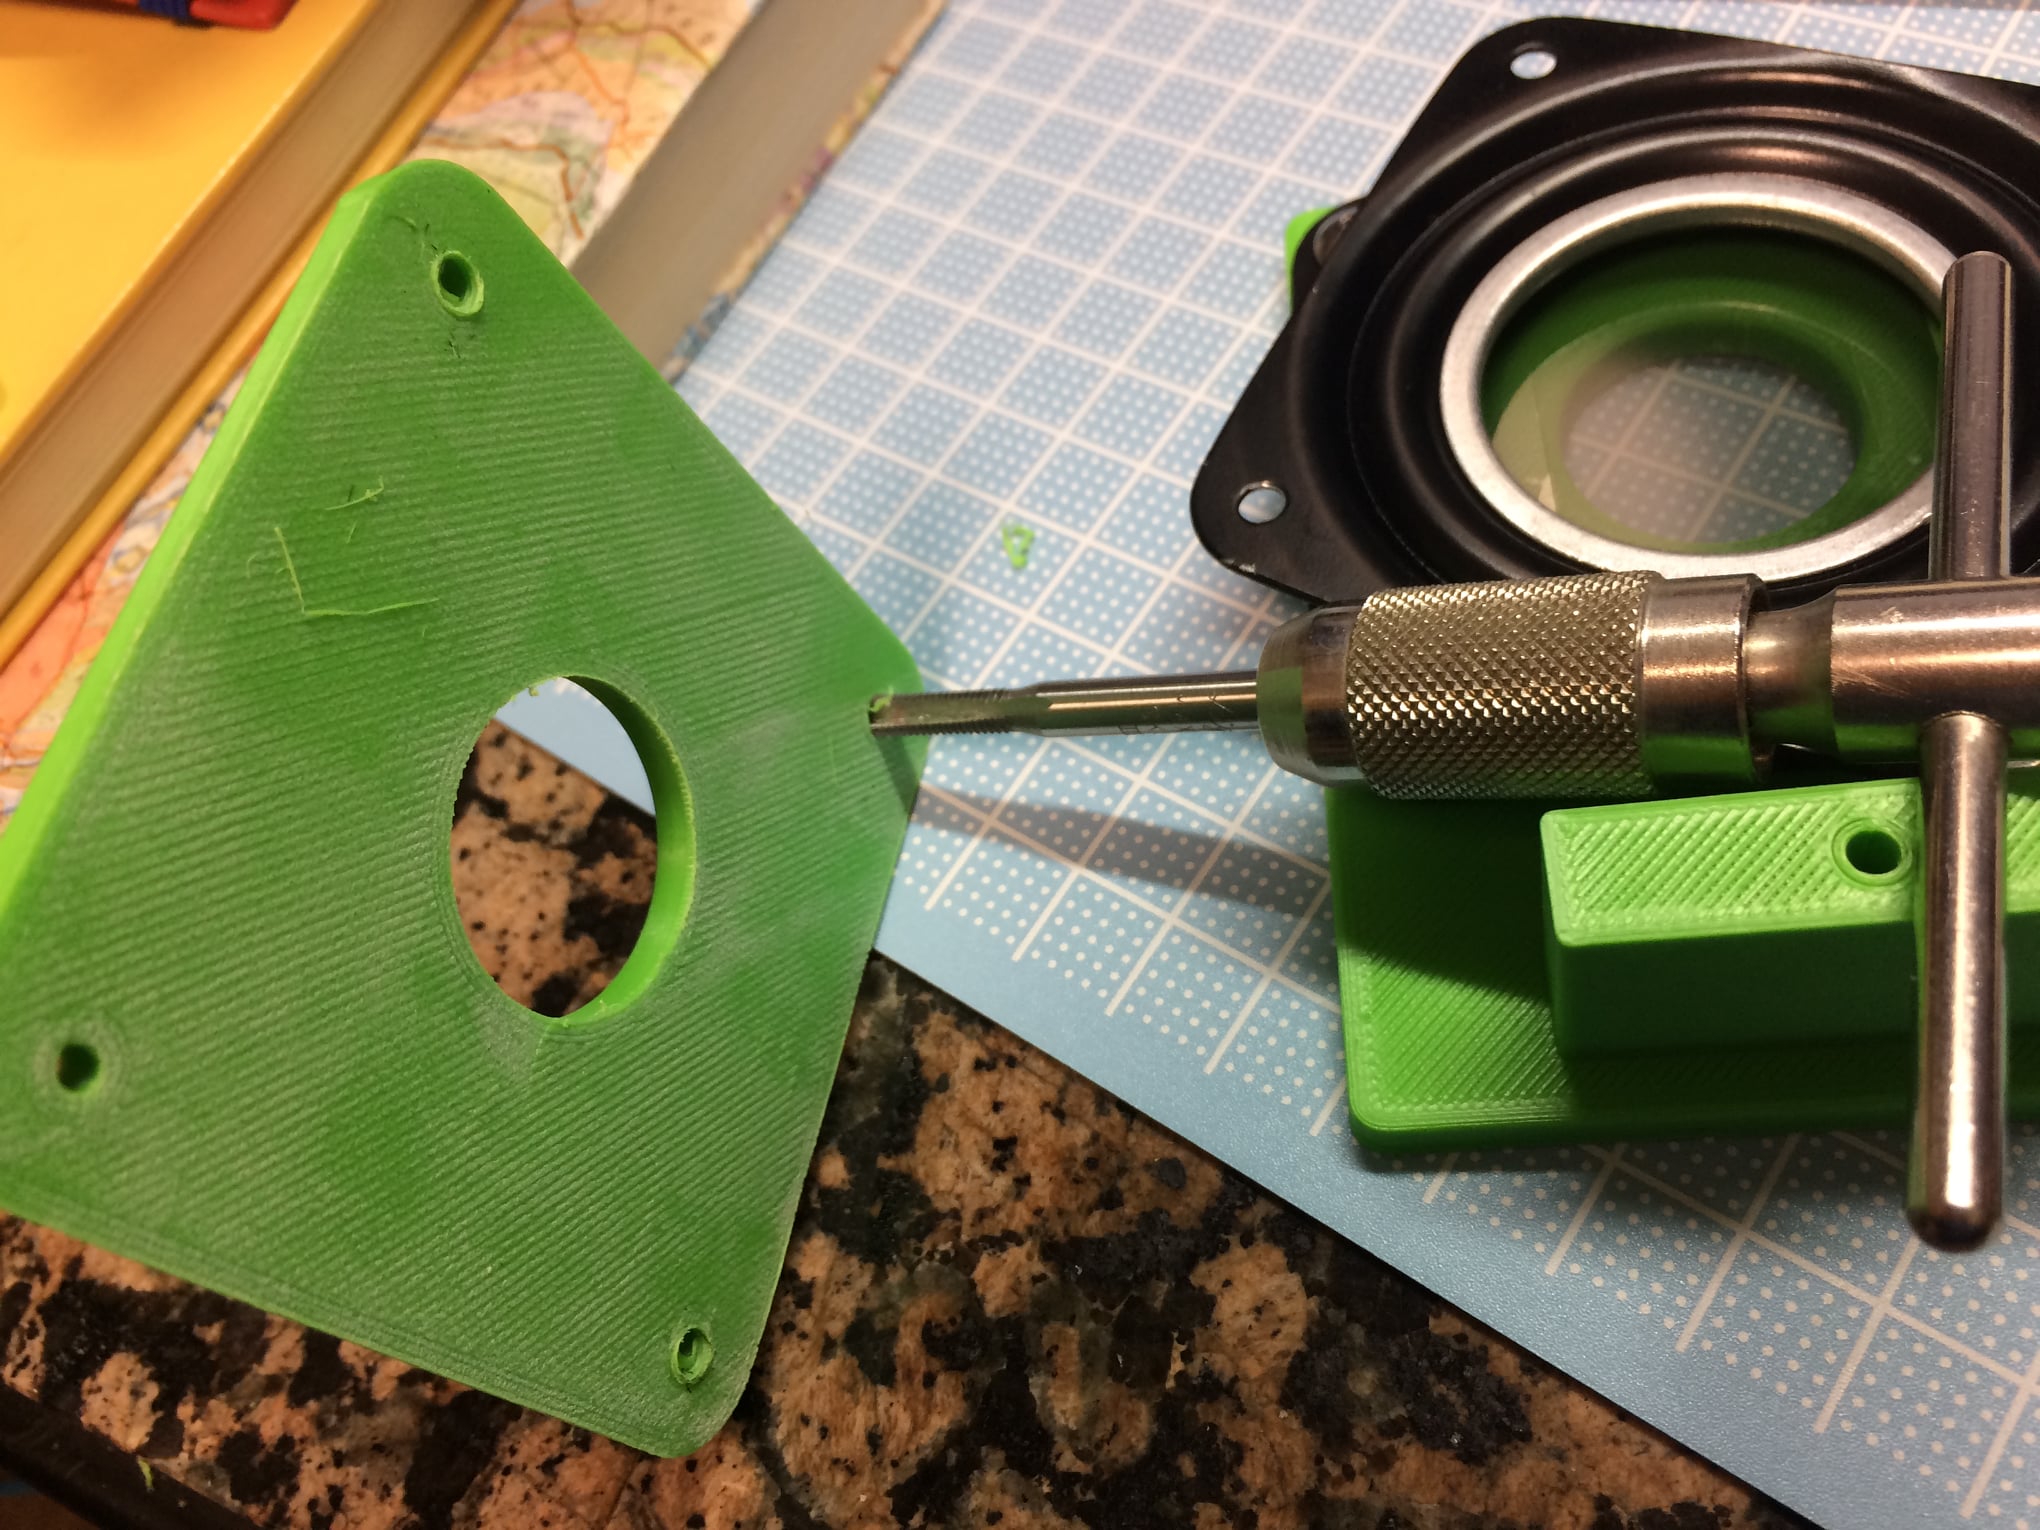
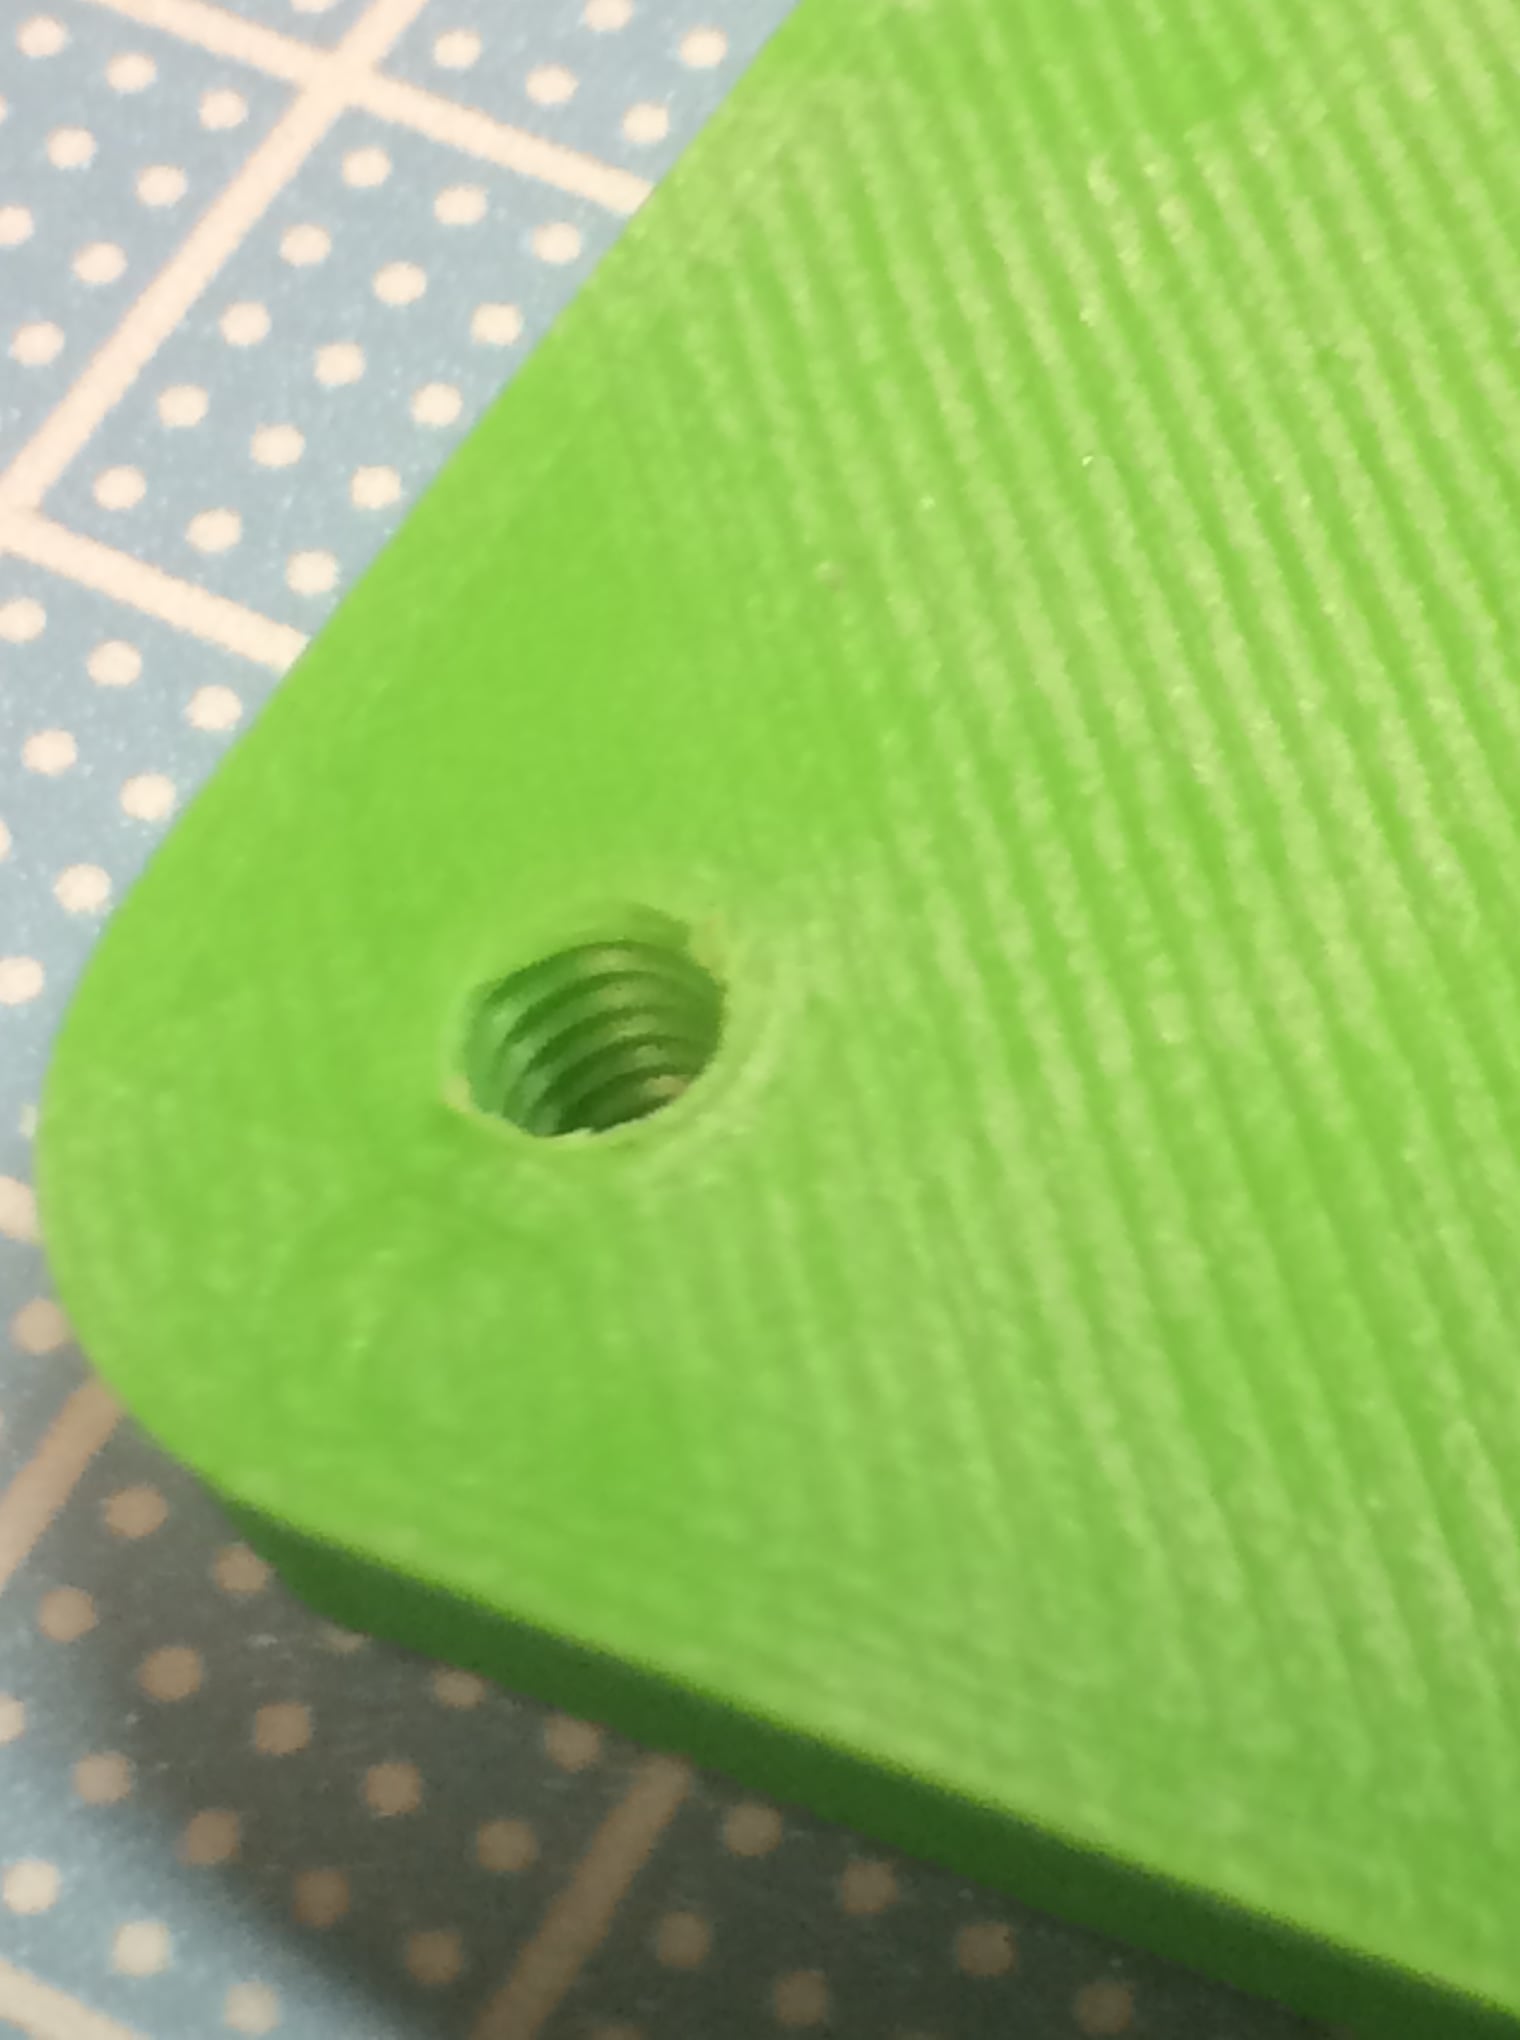
However,
the base was OK, but the upper plate was screwed in from below, so the
screw holes on the stage side of the printer were almost closed due to
high temperature. So you should drill the tap from the upper side.
As expected, using a tap completes a clean threaded hole without exerting force! The size of the hole was set to 3.24 mm in diameter in CAD.
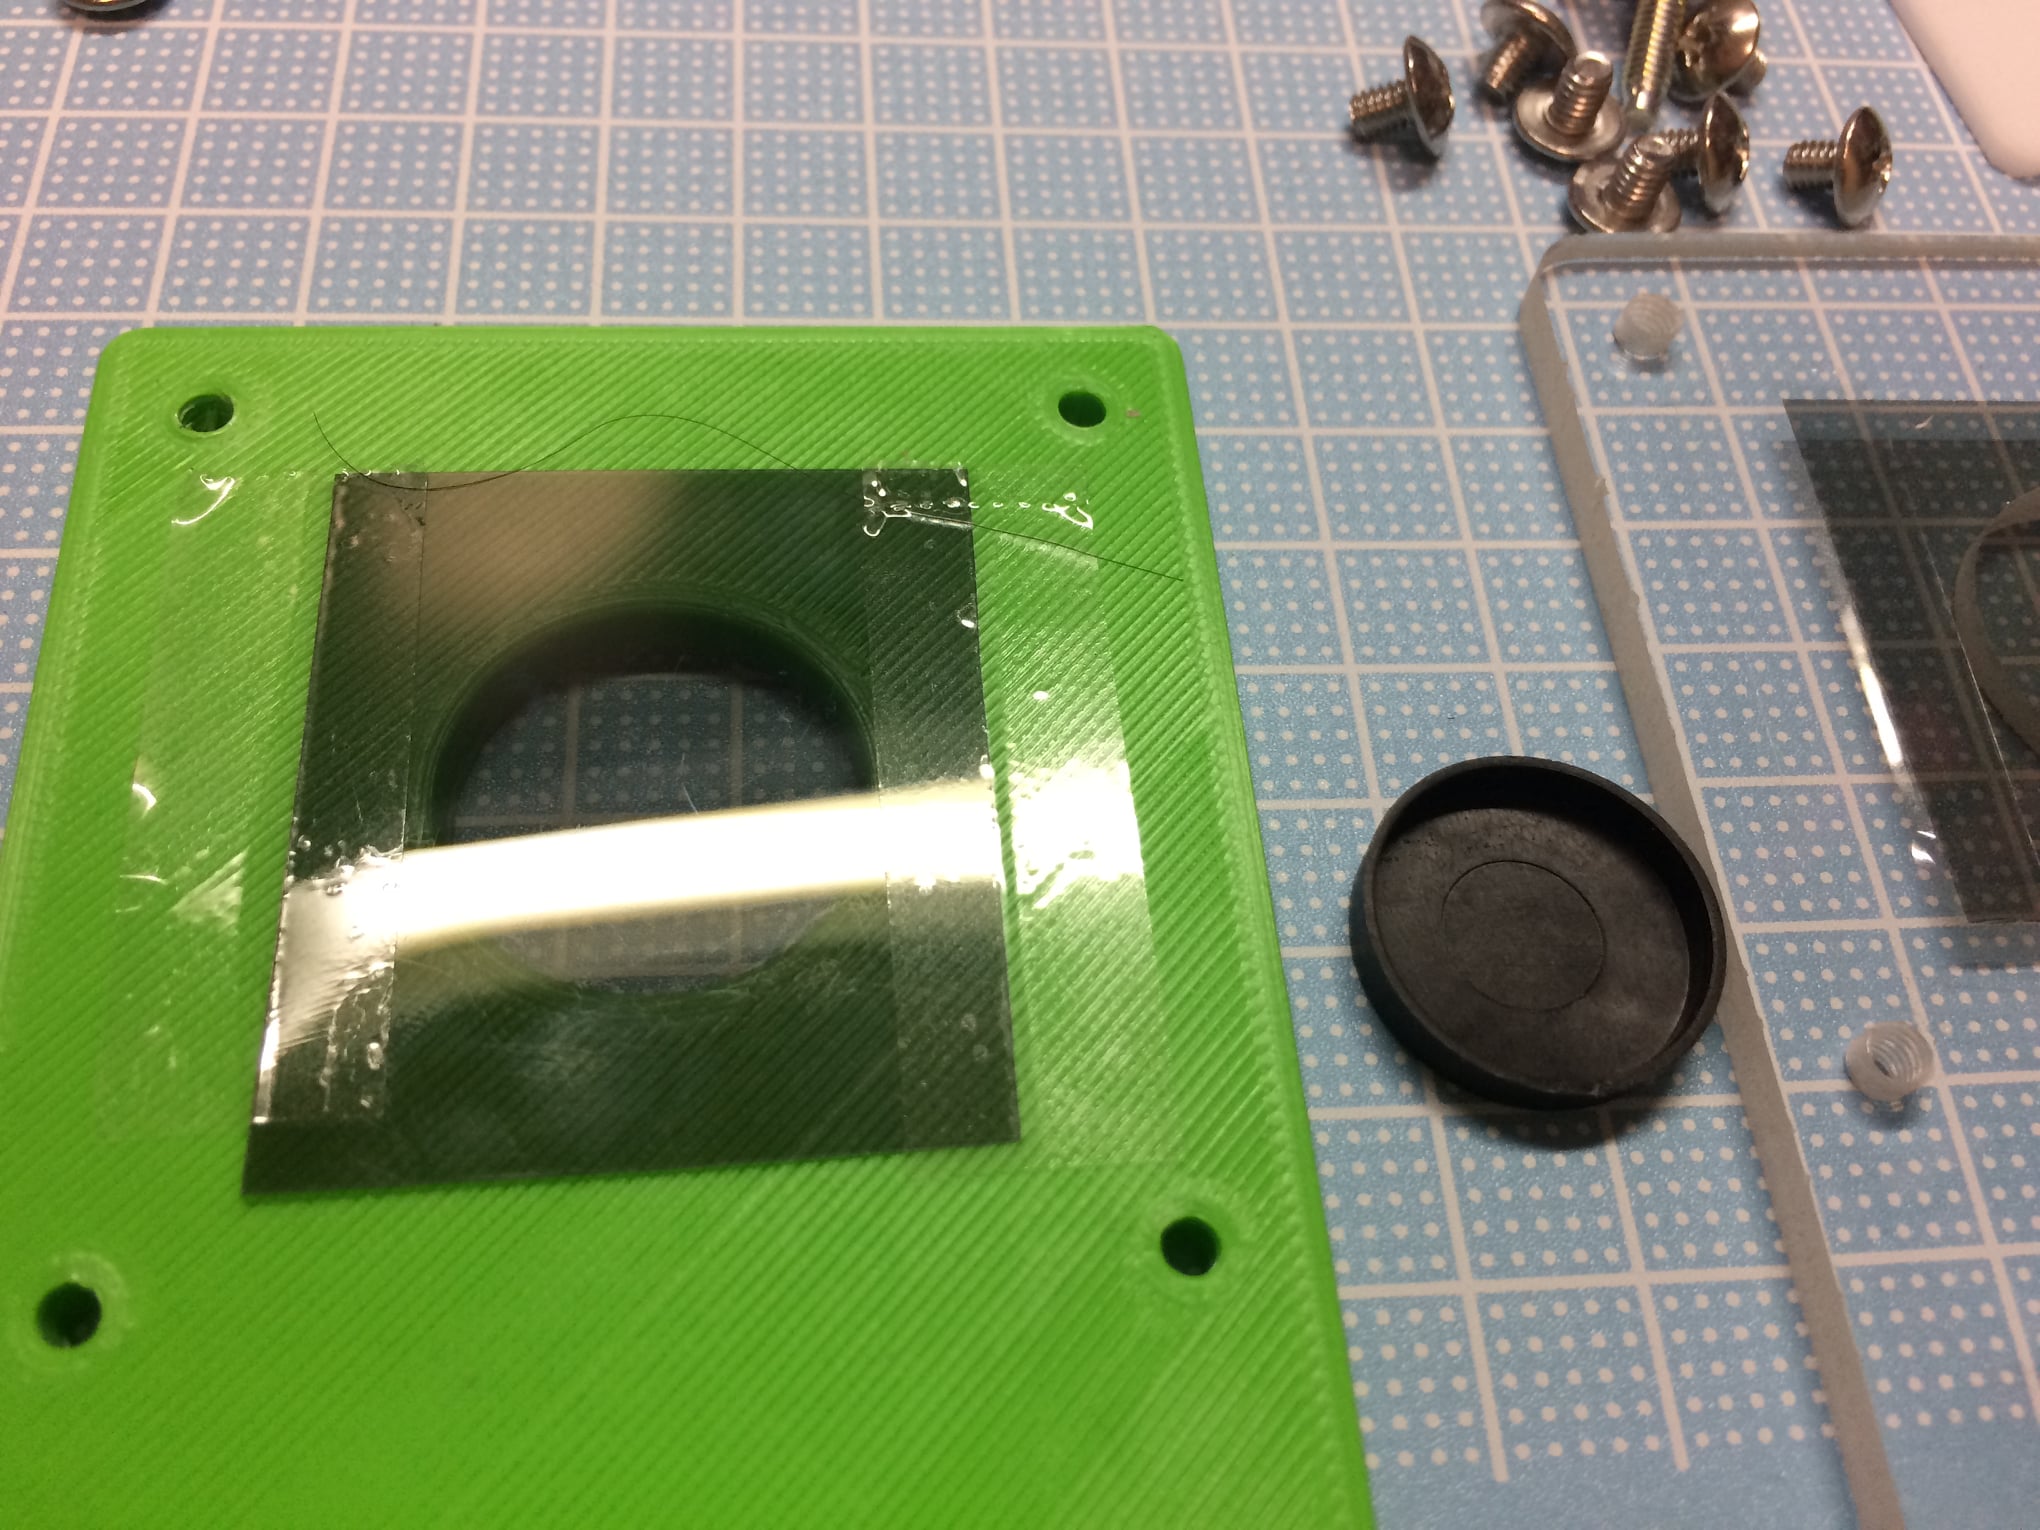
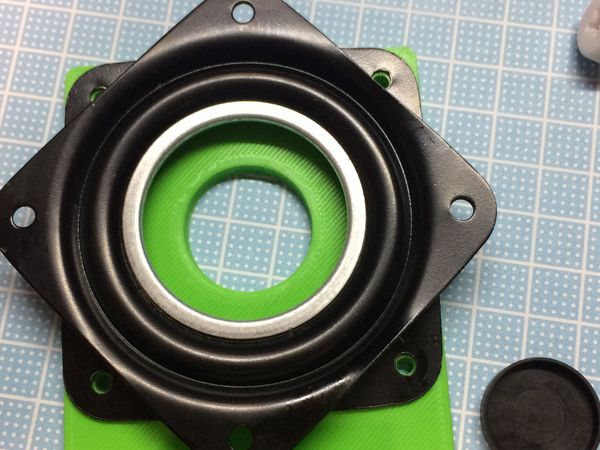
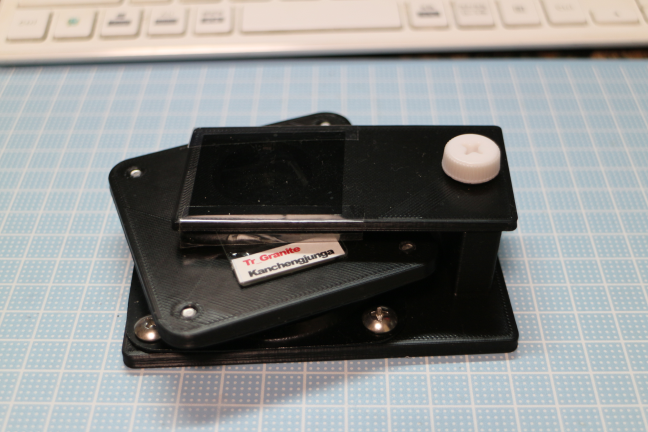
Before attaching the rotating stand to the bottom plate, take a polarizing sheet and attach it with cellophane tape. Check the direction of the polarizer with a Nikon polarizing microscope before attaching the polarizer.
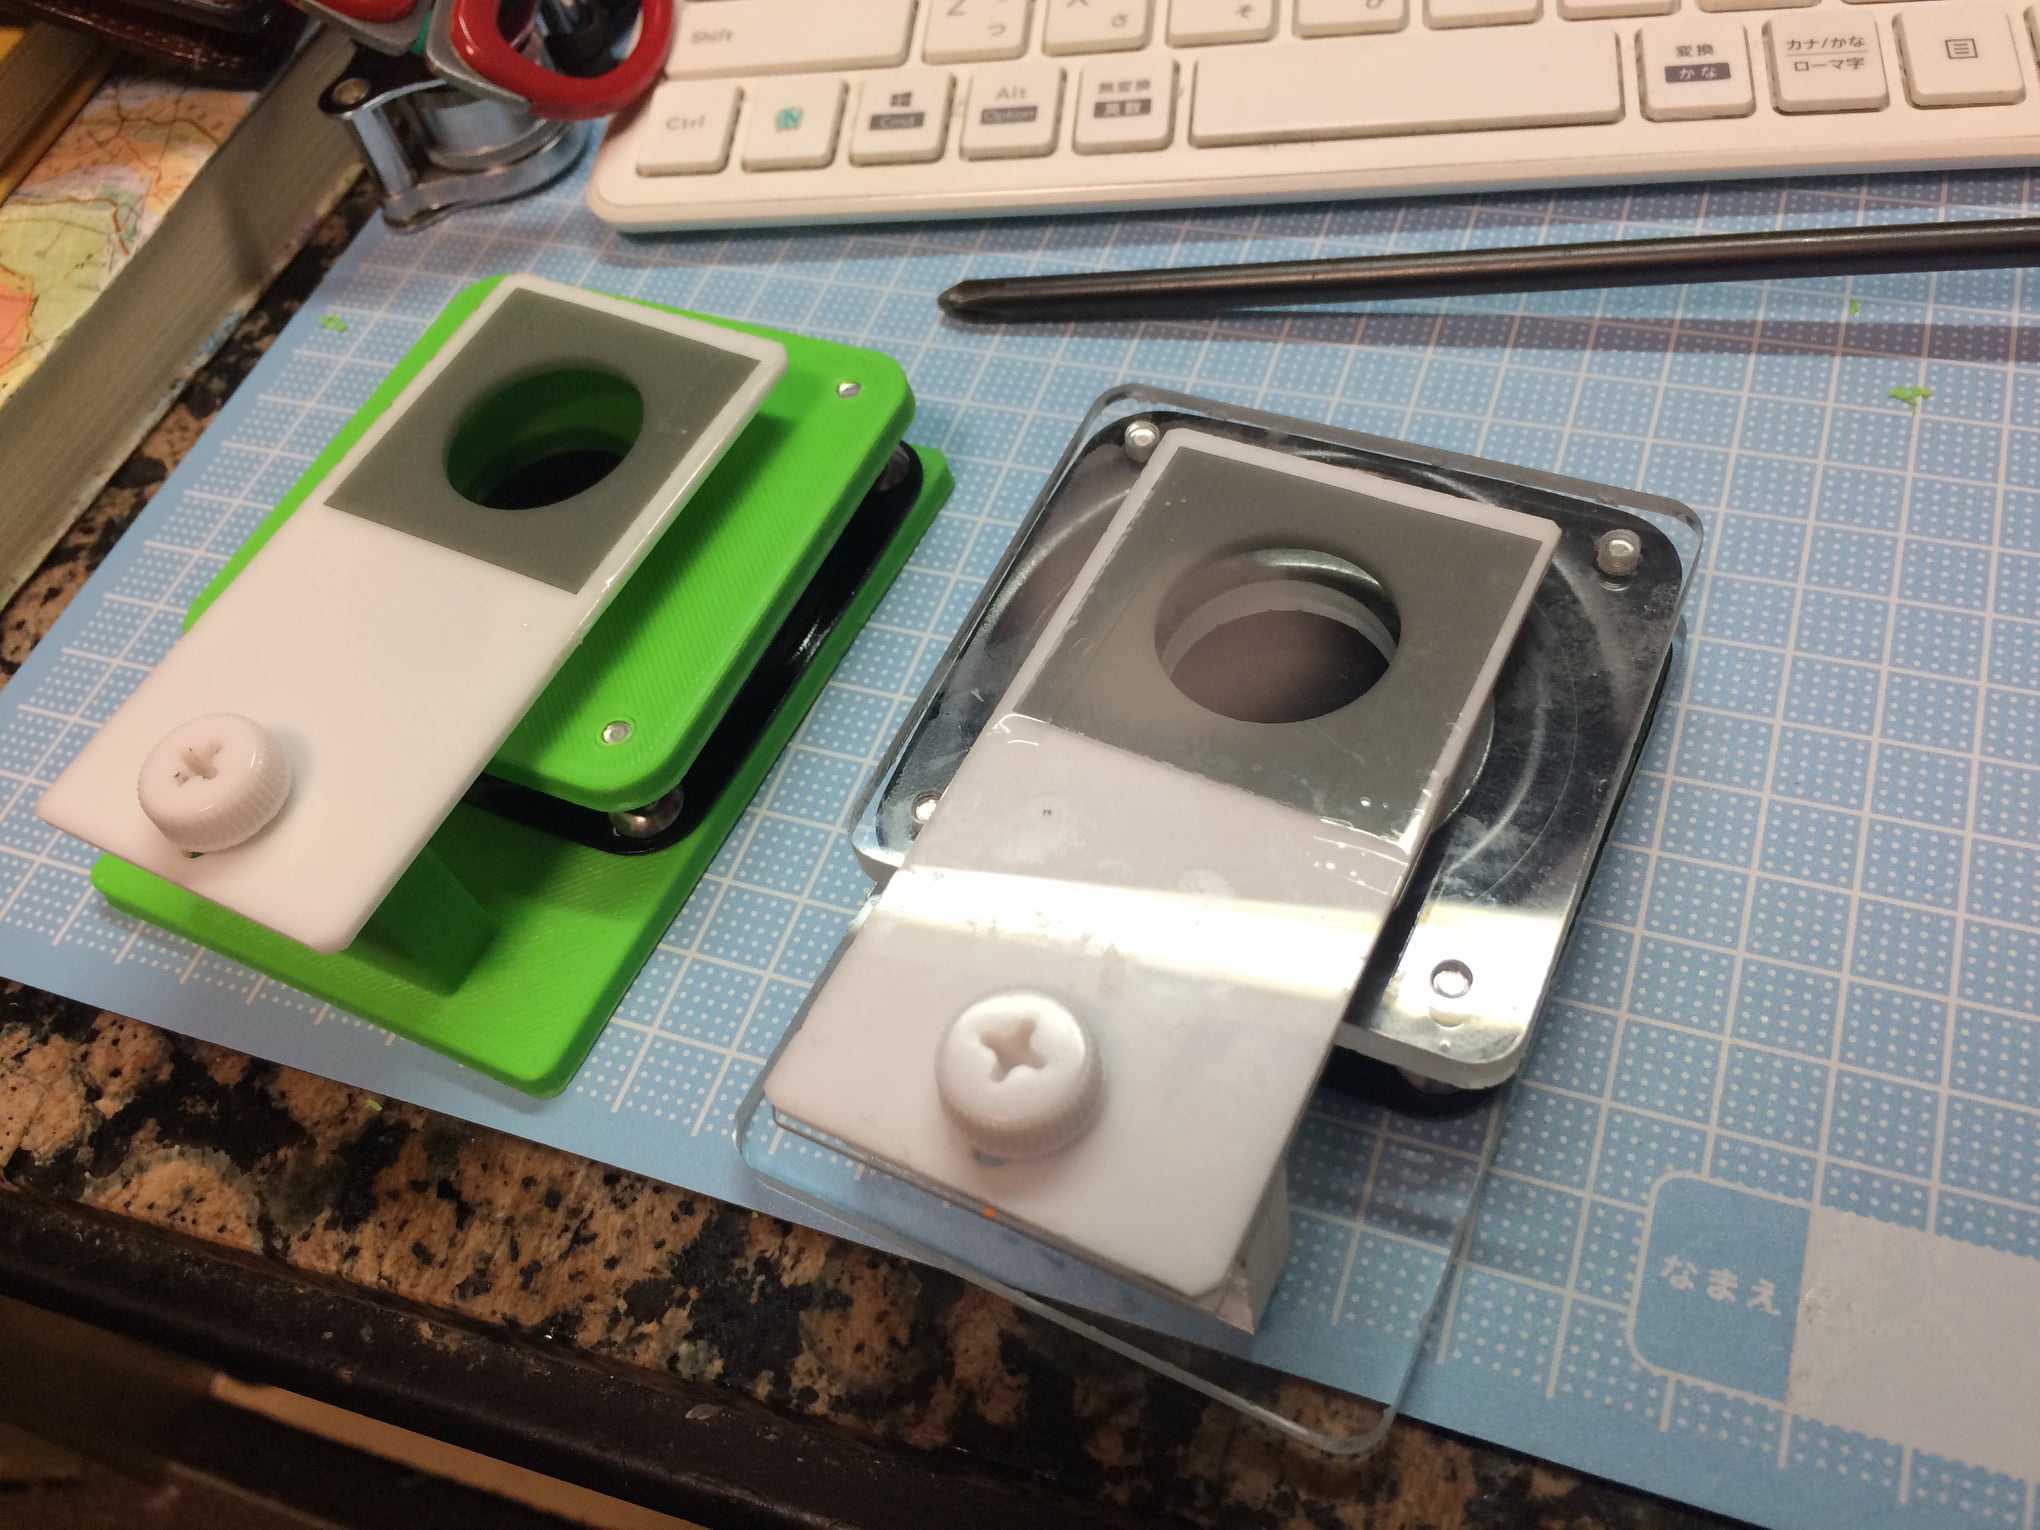
Comparison with the previous models. It is quite smartly made. The assembly time and effort are much better than the previous model. The only drawback is that it takes a long time to print. The weight was 45g, so the filament cost was 90 yen/kg at 2000 yen/kg. That's pretty cheap. The turntable cost around 400 yen from AliExpress. The rest is the price of the polarizer. you can buy this from a net shop. I recommend to use glue free type.
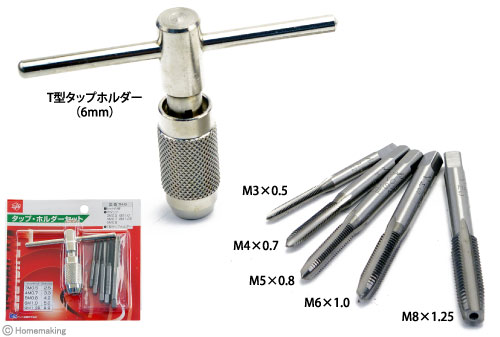 https://www.homemaking.jp/products/detail.php?product_id=89805
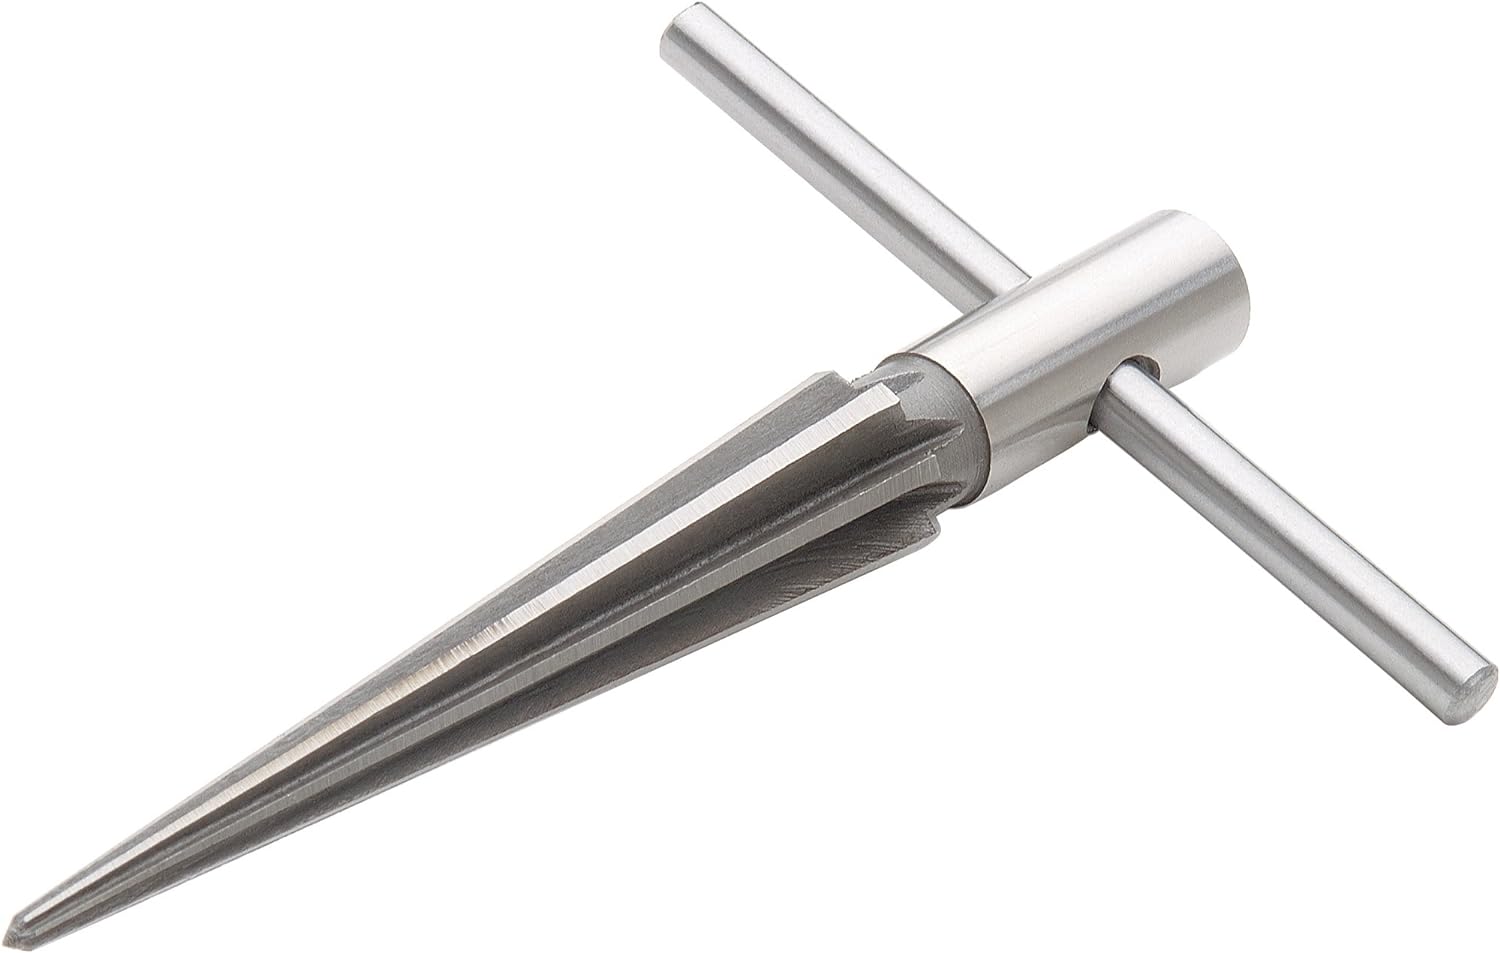 https://ja.aliexpress.com/item/32905859876.html