Thin-section making recipe for secondary school teachers and students.  Part II.    by Yoshio Okamoto 14th March 2020

3) Grinding one side

4) Gluing to a slide-glass.

5) Cutting again

6) Secondary grinding

7) Cover glassing

8) Clean up and labeling.


Part I (link)

1) Sample collection as an appendix of 2)

2) A tip cutting from the sample


<
Grinding one side and Gluing on a slide-glass>

img_1967.jpg img_7045.jpg
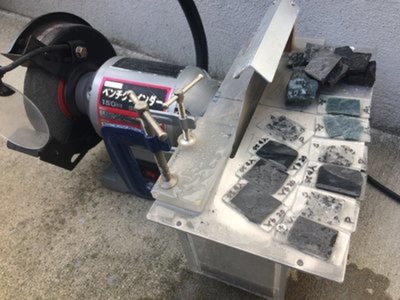
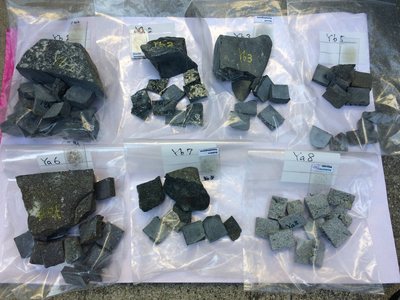
Cut samples for grinding at the Yamatogawa riverside.
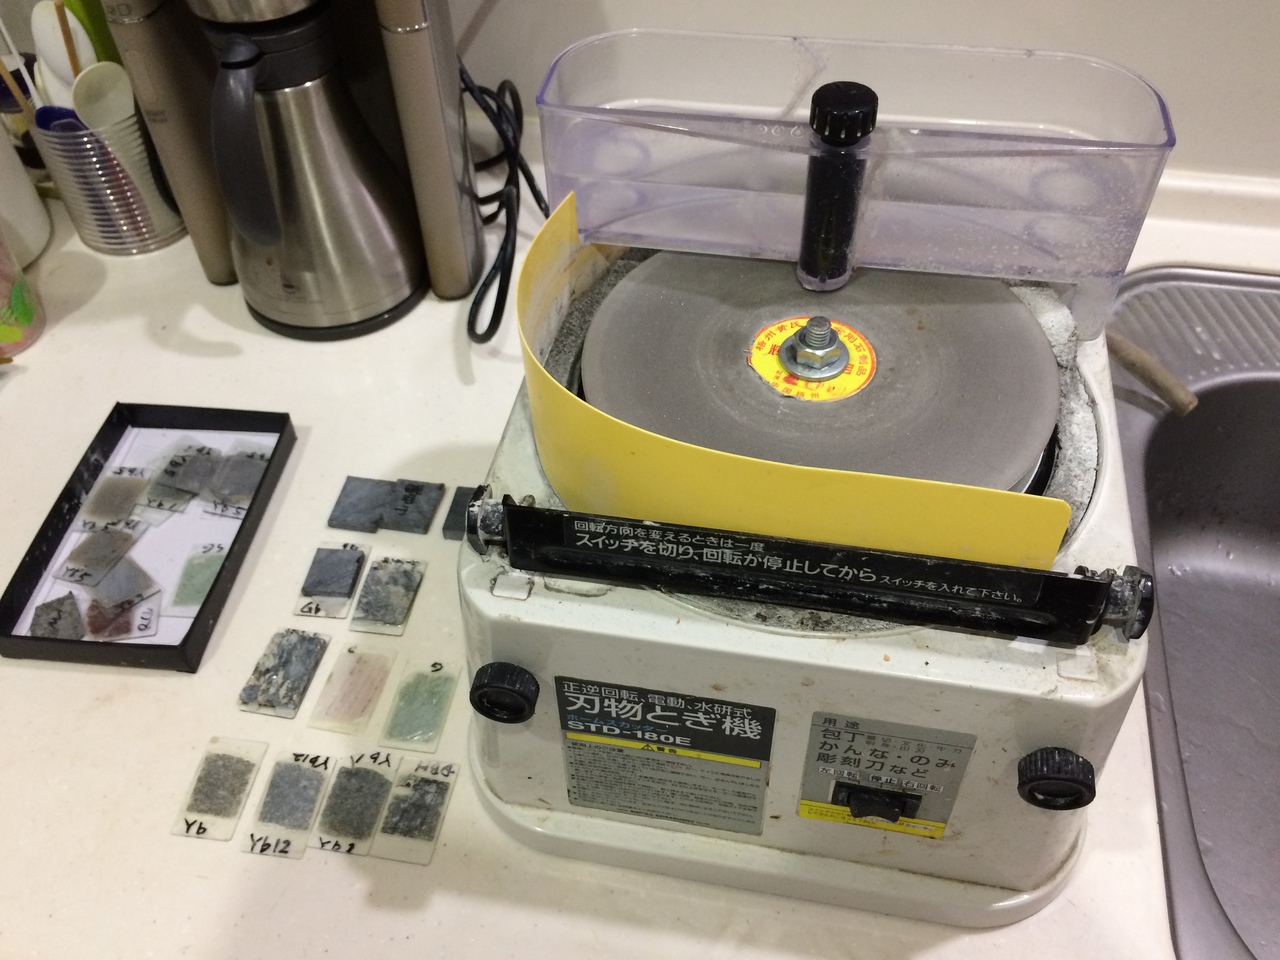
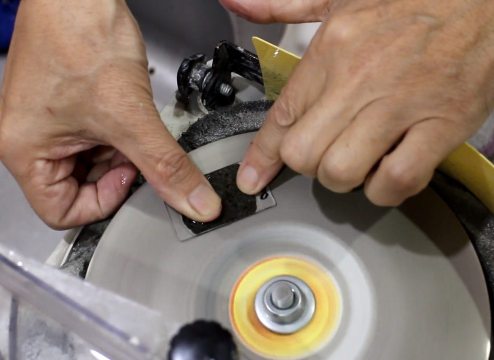
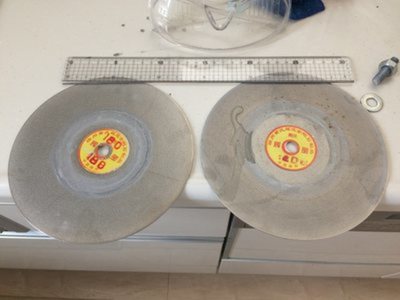
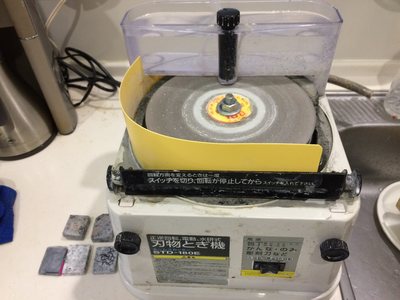
Our home-made lapidary rock grinding machine based on a kitchen knife sharpner.

img_5840.jpg
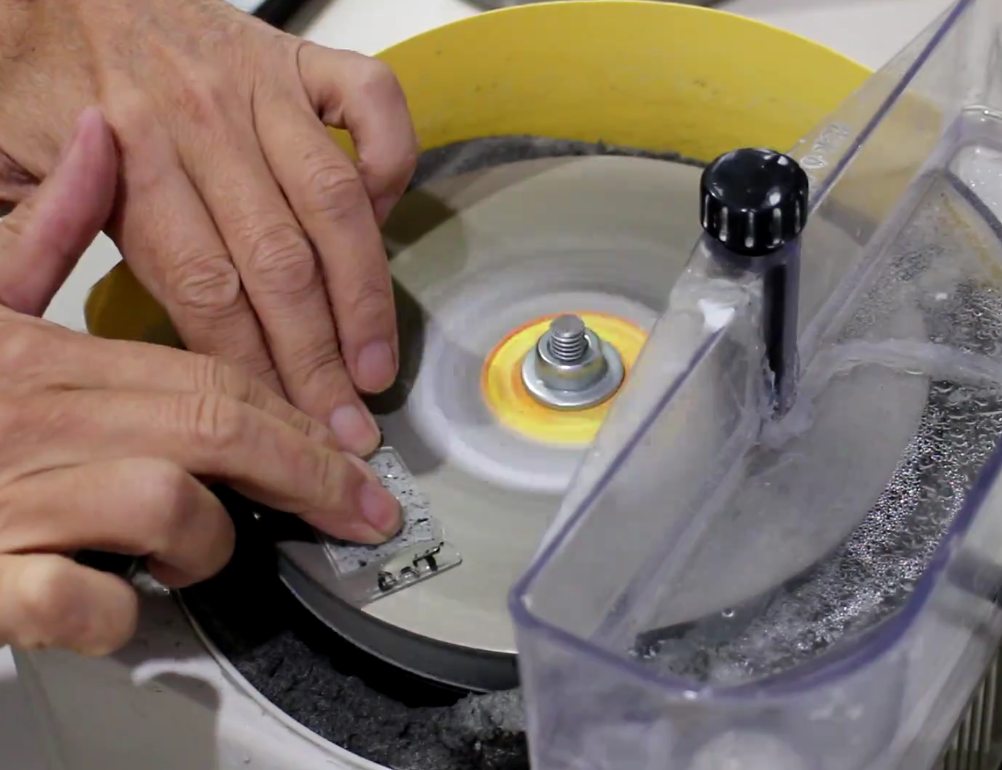
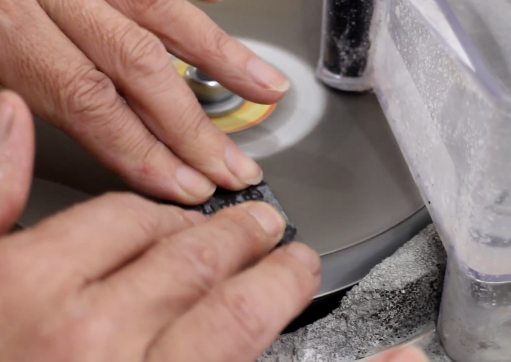
Grinding the one side of a sample on a #180 grit diamond disk. Click to see a movie!
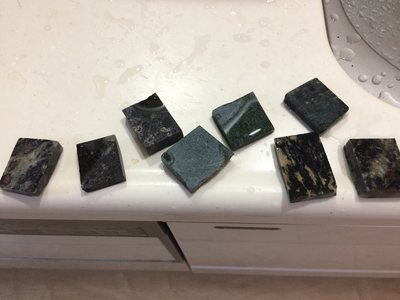
 Completed the first grinding stage using home-made grinder.  
img_6479.jpg
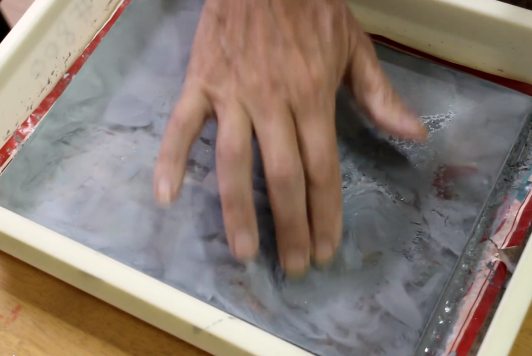
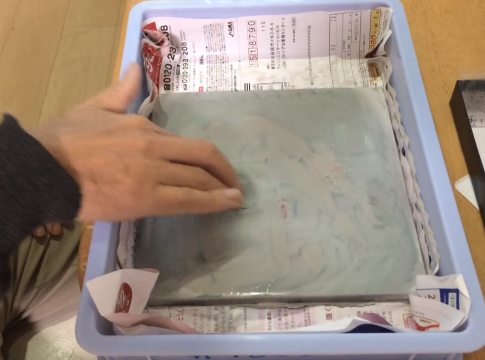
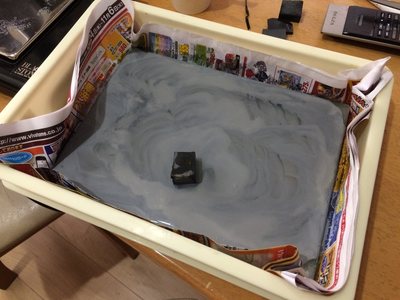
(Alternative, not used the machine) This is the traditional grinding using #300 abrasive and water on a glass late.
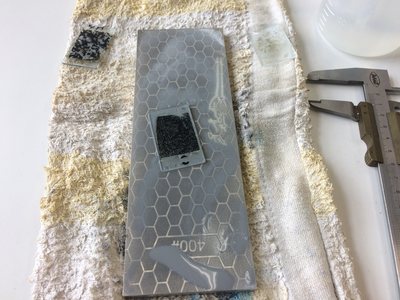
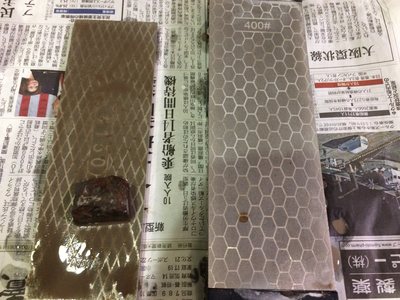
Alternative tools, for grinding #150 and #400 diamond plate for knife sharpening.
If you do not have the grinder, it is recommended instead of abrasives.
img_5841.jpg
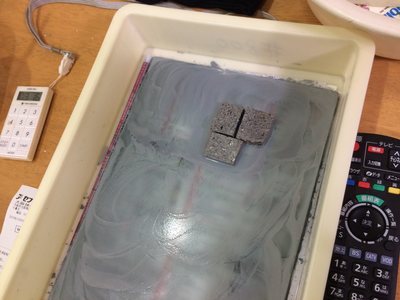
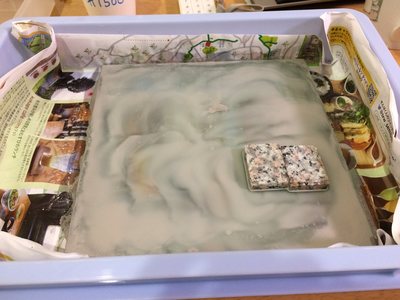
The final grinding #800 and #1500 are still carried out using the traditional way.This is the second grinding stage using #800 carborundum.. Some tips are grinded at the same time.  The #1500 alundum is used for final grinding.
img_1369.jpg img_6124.jpg
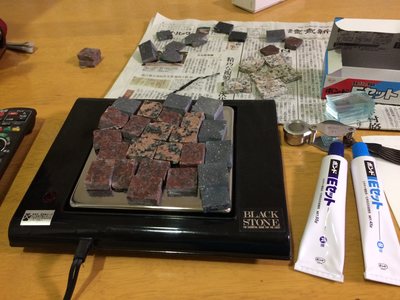
A hot plate for tea server is used for the heating of samples. This is a preparation of gluing.
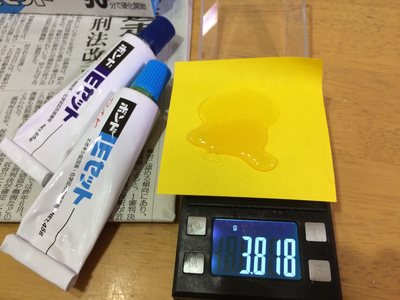
Bond E, an epoxy glues is used for gluing. The mixing rate A and B = 55:44 (not 1:1) is important for the strength of glue.
img_1464.jpg img_1470.jpg
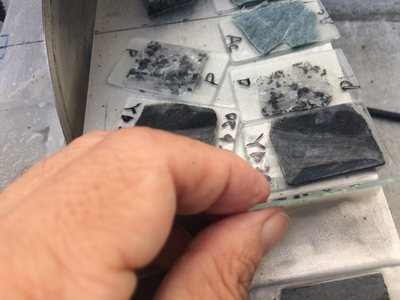
The samples are on the slide-glasses. The gluing is completed after two days kept in a room temperature..
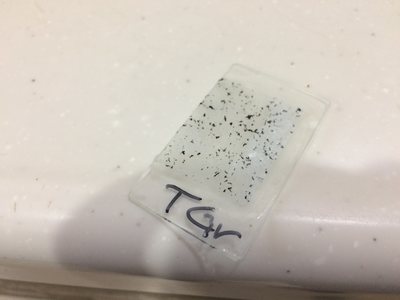
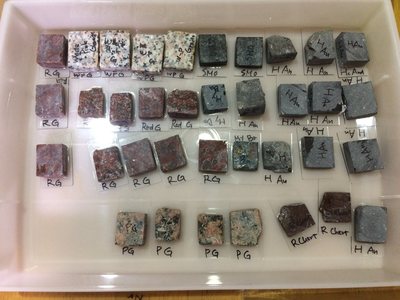
Bottom view of the samples. Labeling is very important on both rocks and glasses. Because in the next stage, if we cut the rocks, we lost the information about rocks and glasses.  


<Cutting again and Secondary grinding>
img_5094.jpg
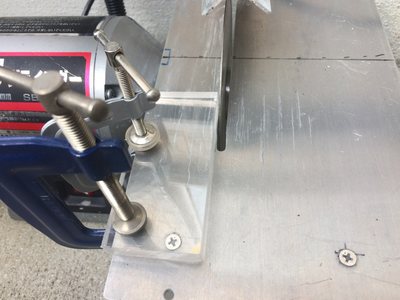
We made a sawing guide using a acrylic plate and small cramps. The space from the diamond blade is adjusted 1.5mm.
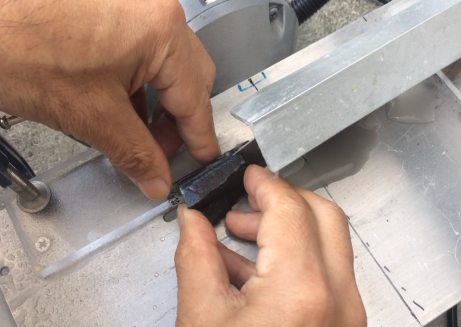
Cutting the sample. Take care of your finger not touch to the blade, or you get a small burn. Click to see a movie!
img_5099.jpg img_5102.jpg
After cutting, the sections become around 0.5mm thickness on the glass. The front water cover is removed. 
Close up of the section. 0.3 to 1.0 mm thickness is the best.
Secondary grinding begins with our home-made machine.
Rock grinding! Click to see a movie! #180 grit diamond plate. You can reduce the thickness to 0.1mm or less.

Another grinding for a basalt section. You can see the section is going to thinner. Click to see a movie!
If you need the next step, you can use #400 to #600 grit disks again for the second stage. However, usually no need. Now, I only use #180 normally.
img_4108.jpg
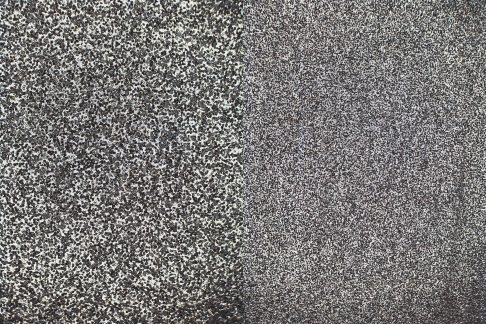
Close up of grits. Left: #180  Right: #400   Width of the image is about 20mm.
If you do not have the machine, You can use the diamond plates #150 or #400 as same as the rotating tool.
img_5110.jpg img_4706.jpg
0.1mm thickness or less, you can go to the second and final grinding.
If you only use the diamond plates, you can not erase the above slick lines. So we need the next hand grinding stage.

img_1567.jpg
#800 carborundum grinding on the glass plate. Click to watch a movie!
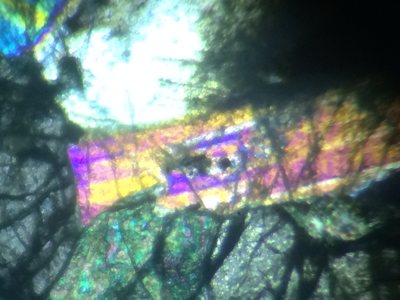
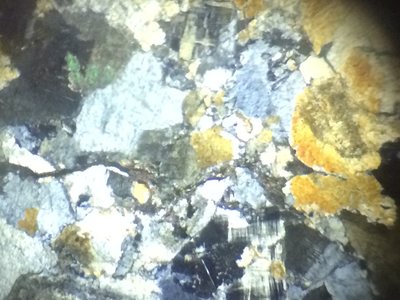
Check the thickness using the polarized microscope. Colorful interference colors of feldspar or quartz show the section is too thick. So more grinding is need.
img_1446.jpg
 The interference color turn to thin yellow to white cream, you can move to the final grinding #1500 or #2000. The frequent thickness check with the polarized microscope is very important.
#1500 alundum grinding as the final stage. Click to see the movie! The purpose of final stage is to make smoother the former rough surface. If your section shows still strong yellow color for feldspar or quartz with the cross polar view, it means too thick, so you have to return the former stage #800.  

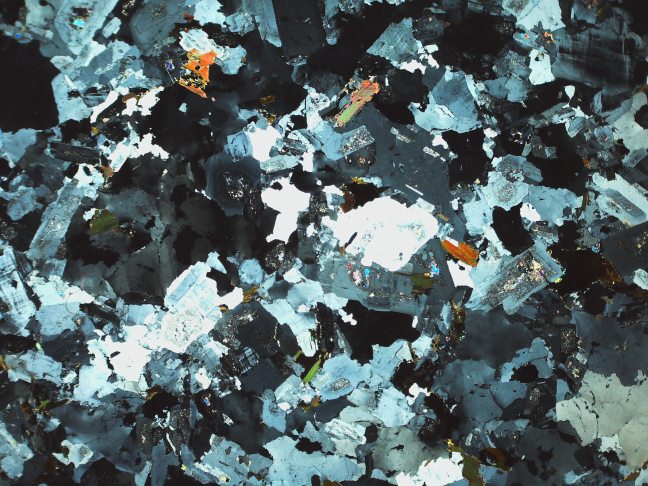
A completed thin-section, Both-mica Granite in Kanchenjunga, Nepal.
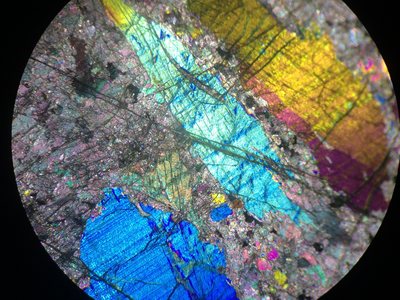
Cross polar 13.5mm width, Both-mica Granite in Kanchenjunga, Nepal.


<Cover glassing and Clean up and labeling>

img_5217.jpg
Cover glasses and UV resin for decoration design as glue.
Cover glassing. Click to see the movie!
img_1643.jpg
After gluing, the sunlight consolidates the UV resin.
Or a UV light for accessory making is used for consolidating the UV resin..
Usually the cover glass is covered the resin, so we have to remove such resins by using a cutter knife.
Also, we use a enamel remover for manicure to remove the resin with a soft paper. 
img_5124.jpg
The surplus resin is completely removed by a cutter knife and enamel remover.
The label for thin-sections. 
img_1942.jpg
The labeling is very important.The rock name and some properties such as sampling location and some useful information are attached.  
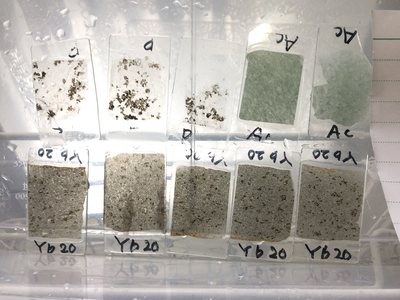
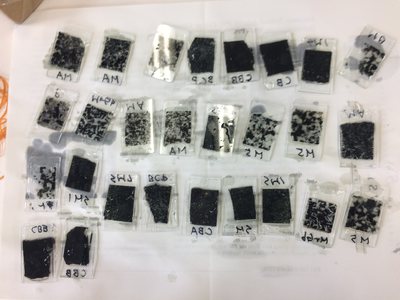
Another thin-sections for IGC36 presentation (the conference is postponed!)


Copyright © 2019−2020 Yoshio Okamoto All Rights Reserved.