岩石薄片撮影レシピ 19th Nov.2024
Rock Thin-Section Photography Recipe
岩石薄片の写真撮影は様々な方法があるが,ここでは筆者による方法を紹介する.
双眼実体顕微鏡を偏光顕微鏡に換える,自作偏光ユニットなどについては以下の参照されたい.
There are various methods for photographing rock thin sections, but the author's method is described here.
See below for information on converting a binocular stereo microscope
into a polarized microscope, a home-made polarizing unit, etc.
http://seagull.stars.ne.jp/2018_Gadget/Polarized_Microscope/index4.html
0.経緯
最初はUSB顕微鏡でPCに画像を取り込んで撮影していた.この方法は手軽でしかも広い視野なので良かったが,いかんせん中央部はともかく周辺の像の流れ
がやはり気になった.顕微鏡の光学系の設計がそれほどではなかったようだ.その後も顕微鏡とCCDなどの幾つかの組み合わせを試行したが,改善せず,結局
次の手法に行き着いた.
At first, I used a USB microscope to capture images on a PC. This
method was good because it was easy to use and had a wide field of
view, but I was still concerned about the image flow due to lens
aberration at the periphery of the image, not to mention the center. It seems that the optical system of the microscope was not so well designed. After
that, several combinations of microscopes and CCDs were tried, but they
did not improve the results, and I finally settled on the following
method.
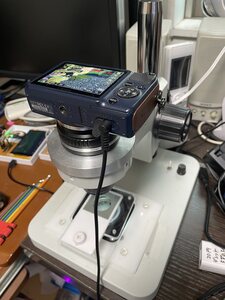
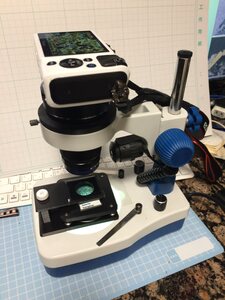
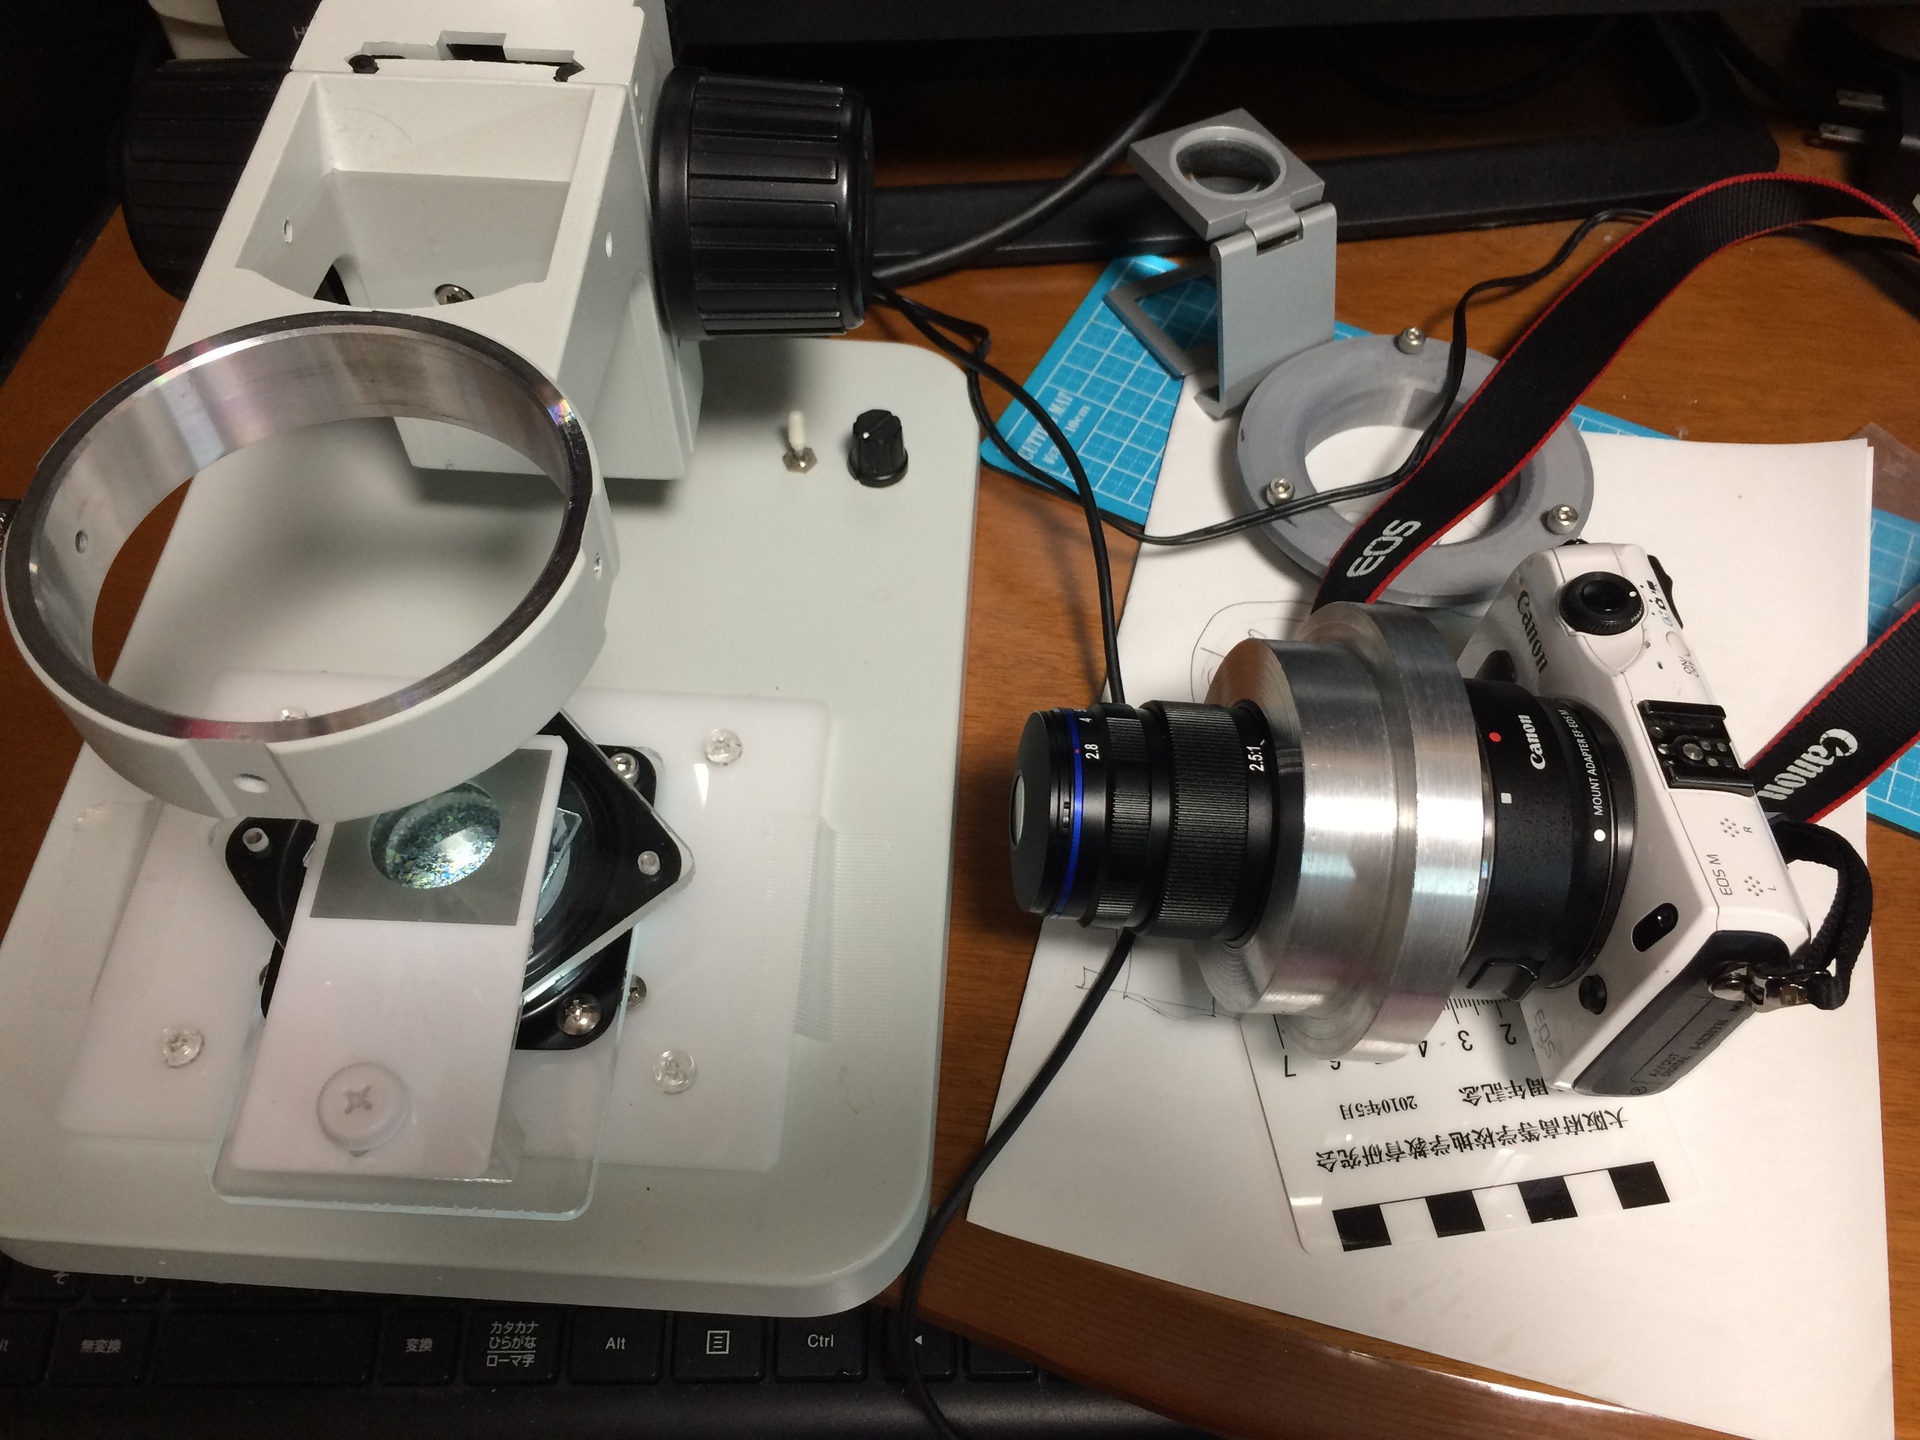
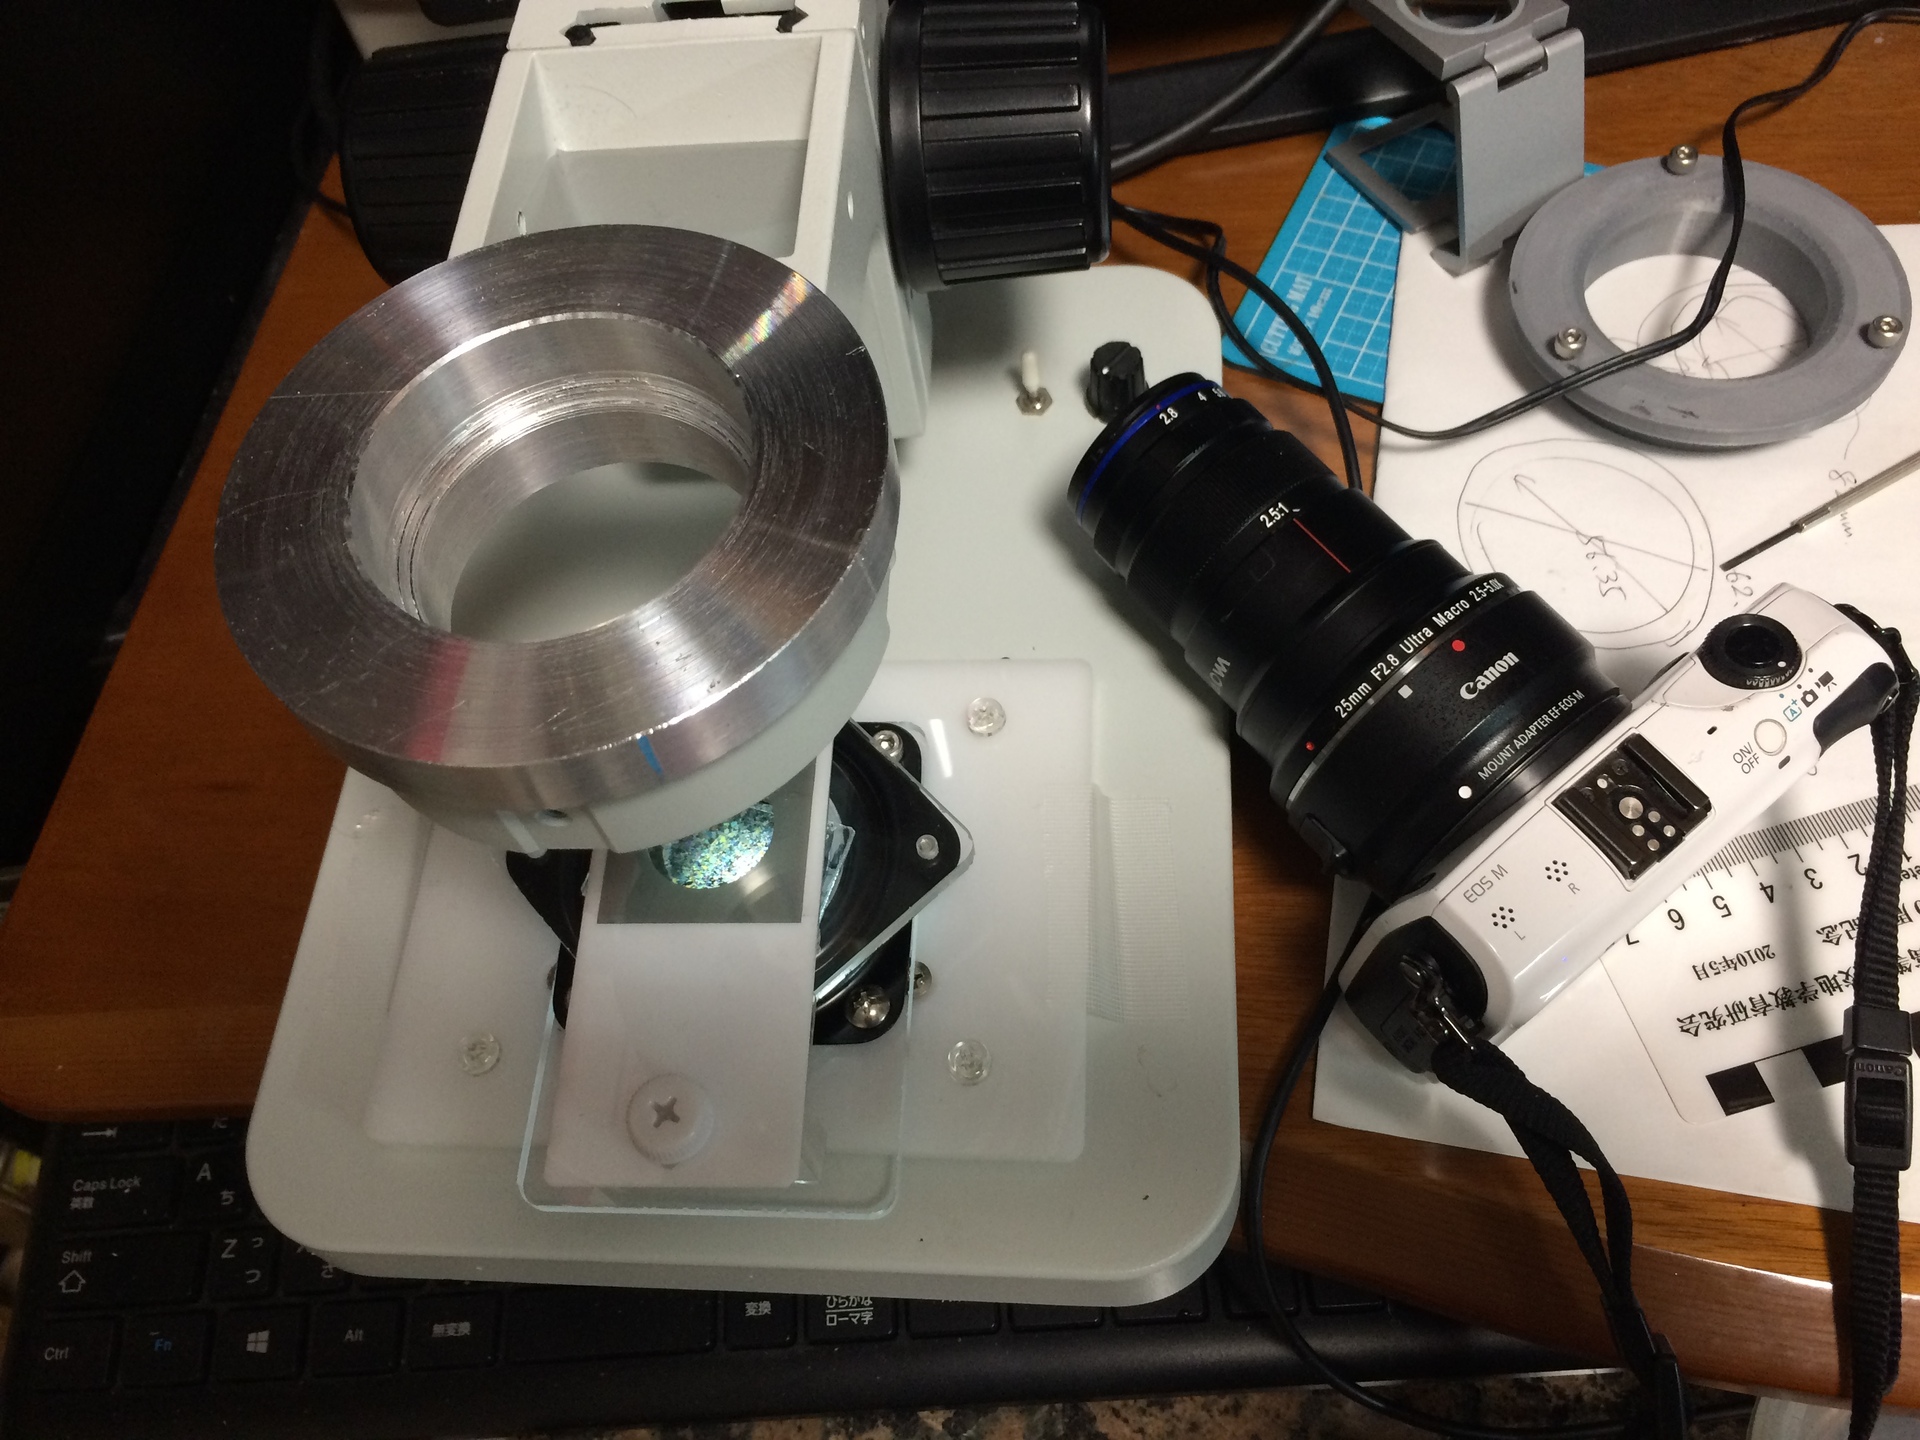
1.LaowaマクロレンズとEOSM+76mm顕微鏡用架台 Laowa macro lens and EOSM + 76mm microscope mount
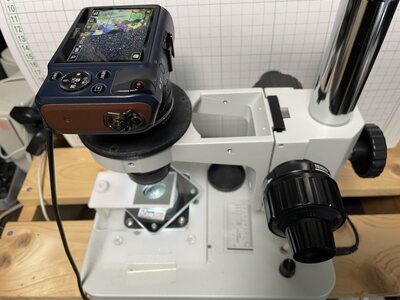
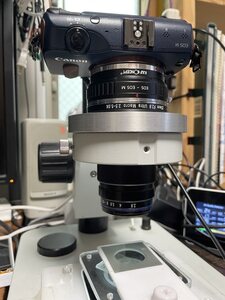
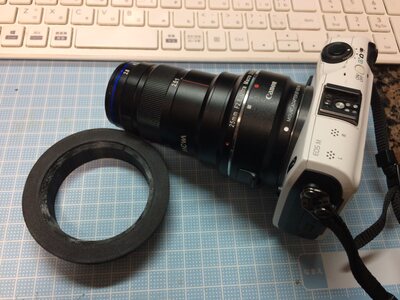
そんな経緯のあと.たどり着いたのはこの組み合わせ.中国製Laowaマクロレンズ LAOWA 25mm F2.8 2.5-5X ULTRA MACRO
旧式ミラーレスCanon EOSM http://gdlp01.c-wss.com/gds/7/0300008787/01/eosm-im-ja.pdf
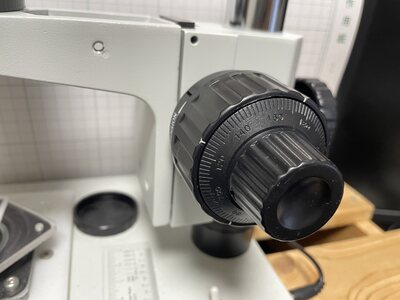
顕微鏡にするための架台;最初粗動のみ,現在微動付きに交換.
https://ja.aliexpress.com/item/1005001394214499.html
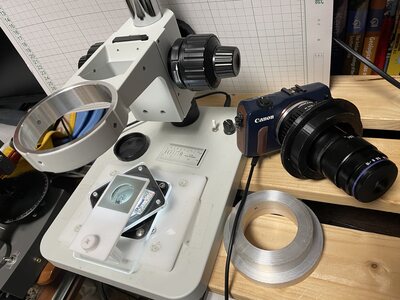
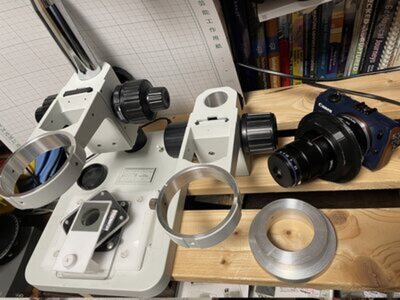
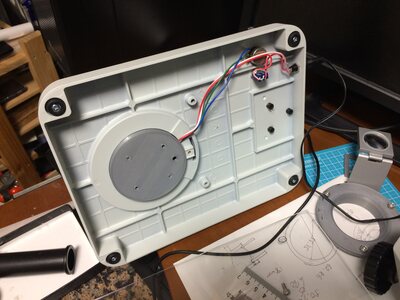
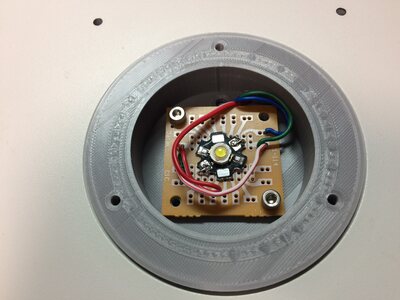
さらに架台に取り付けるパーツの製作
After all that... I finaly setup this combination.
Laowa Macro Lens LAOWA 25mm F2.8 2.5-5X ULTRA MACRO made in China
Old mirrorless Canon EOSM http://gdlp01.c-wss.com/gds/7/0300008787/01/eosm-im-ja.pdf
Mount for microscope; coarse tuning only at first, now replaced with fine tuning for pint focus.
https://ja.aliexpress.com/item/1005001394214499.html
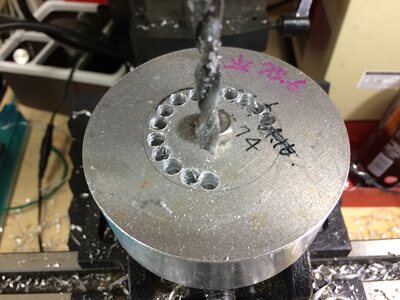
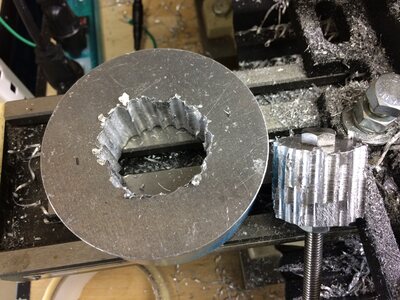
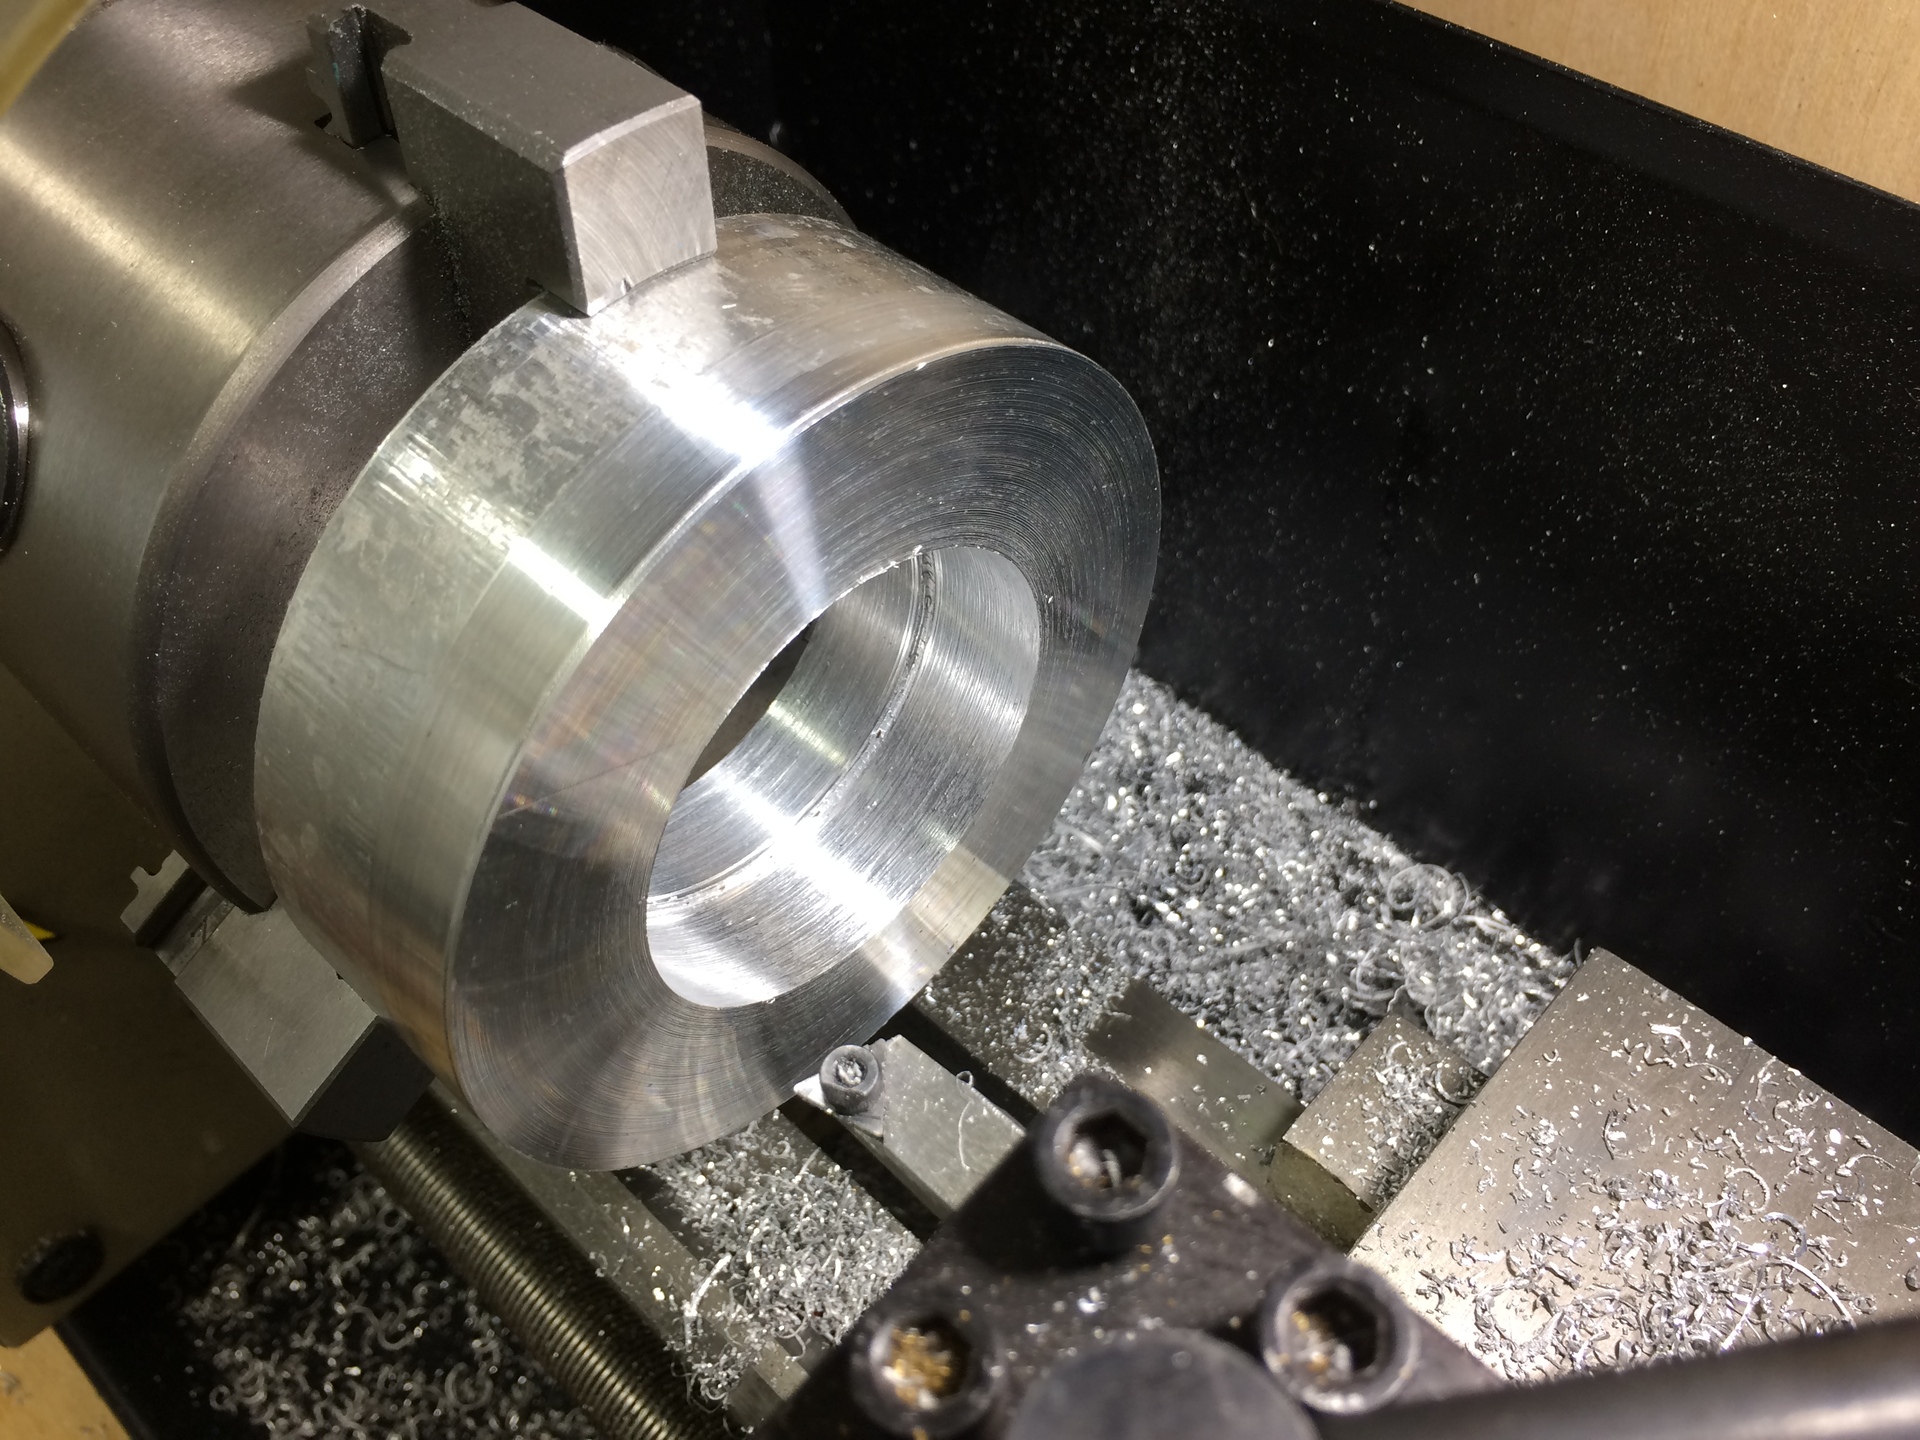
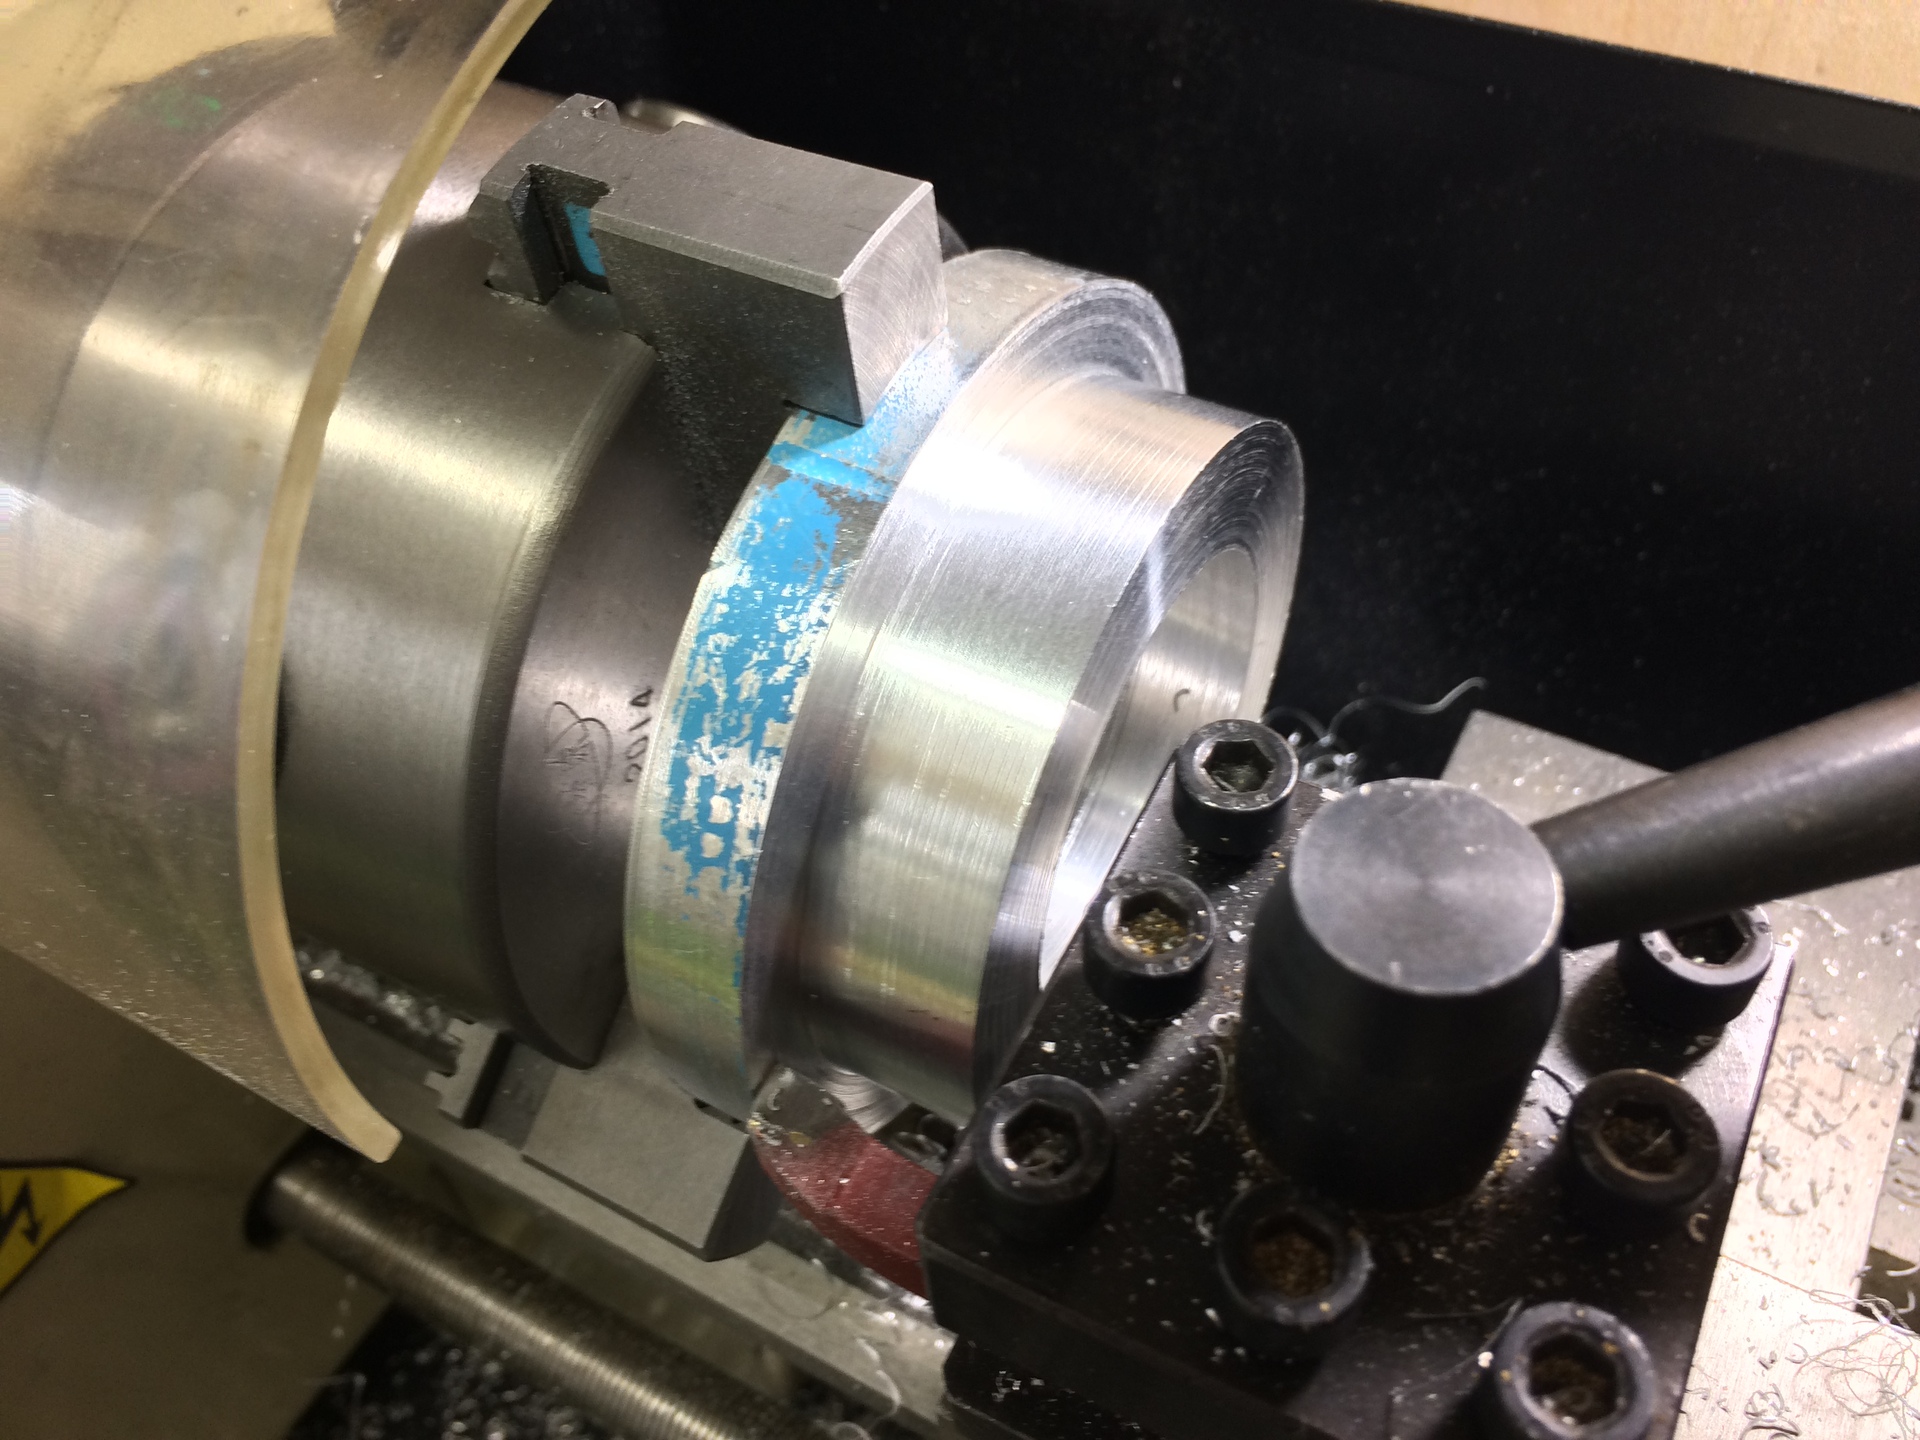
Further fabrication of parts to be attached to the mounts: (2)
The Latest version
The photos are here; http://yossi-okamoto.net/LAOWA/index.html
The old version
Parts making recipe;
Copyright © 2024 Yoshio Okamoto All
Rights Reserved.
