 |
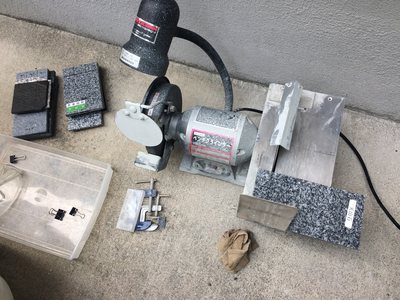 |
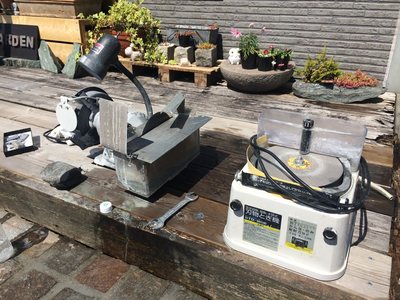
| At one week before the stack., This was a demonstration of cutting and
grinding at a stone shop. At this time, there is no problem with our
machines.
|
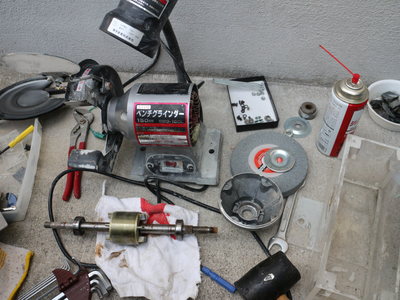
On the next day, we cut the stone samples from the stone shop at my
house; there is still no problem with my rock saw. However, after a half
week, suddenly, the motor stack!!
|
 |
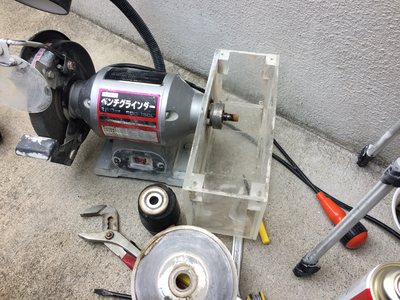 |
| The motor housing was fully opened after a little bit of tough work. In the next photos, explain a procedure.
|
Remove the saw table (aluminum plate), and remove the diamond saw blade.
|
 |
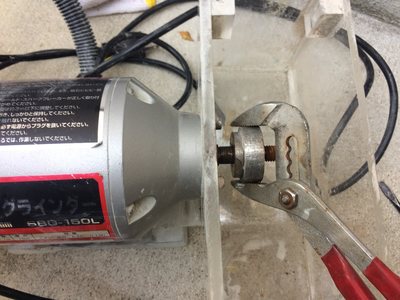 |
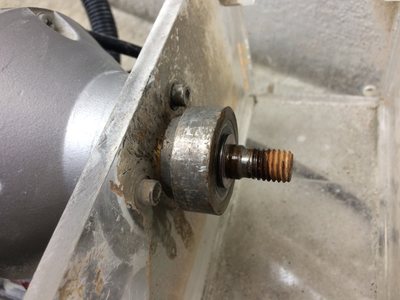
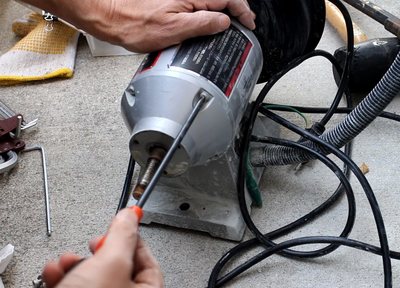
The aluminum arbor stacked on the motor rod, so I sprayed silicon oil spray and wait an hour.
After that, remove slowly the arbor using a fat minus driver.
|
If the arbor begin to move, then cramp by a prayer and remove with rotary motion.
|
 |
 |
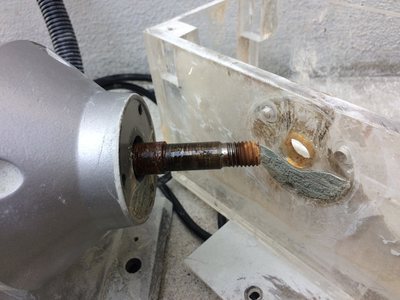
On the side of the water tank, you can see some stone powder spill out with water from the rod hole.
Also, you can see the wide
space between the motor rod and the housing. So much water and powder
invaded into the motor housing. The stacked bearing is just inside of
the rod hole of the housing.
|
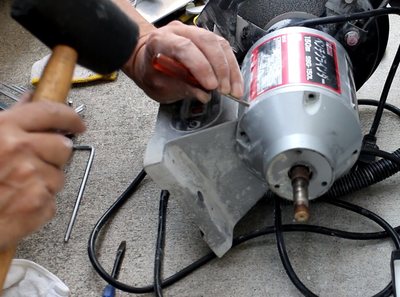
For taking the grinder housing apart, four long thin bolts are unscrewed with the nuts of a counterpart are holding.
|
 |
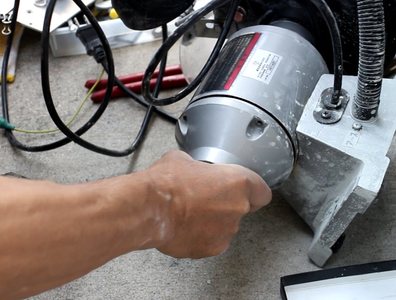 |
| After four screws are unscrewed, the tapered side cover is taking apart. A plastic hammer is used to move the cover moving outside. If you can see a narrow space appeared, then a minus driver is employed to extend the space. |
A hammering the cover
perpendicular to the motor rod, and use the minus driver to make the
space extender, finally the cover is removed.
|
 |
 |
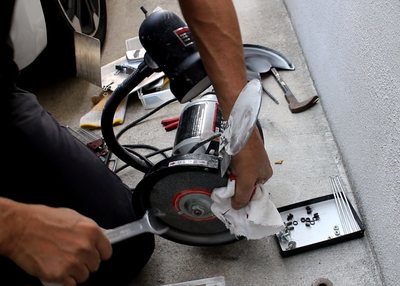
At the same time, for removing
the motor rod, it is necessary to remove the counterpart grinding stone.
So, I try to remove the grinding stone. But I found the screw is left
screw (reverse screw!). So, please take care of the direction of the
spanner rotation.
|
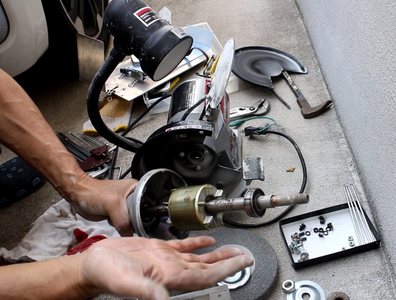
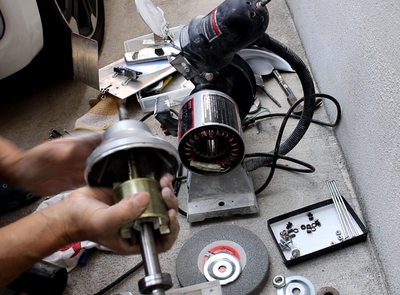
Finally we get the motor rod like
this. The bearing we can see is not stacked bearing. The stacked
bearing is in my left hand side cover.
|
 |
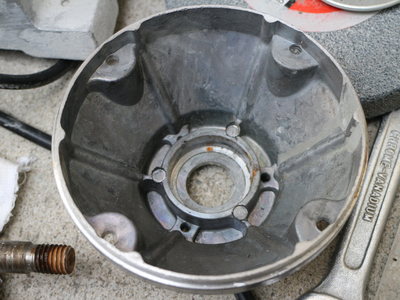 |
Then we get the motor rod and the bearing from the cover.
|
The cover bottom is the space for
bearing installed. Now, we found a tine spring for press the rod with
lateral direction. Unfortunately, I forget to take a photo of this spring.
|
 |
 |
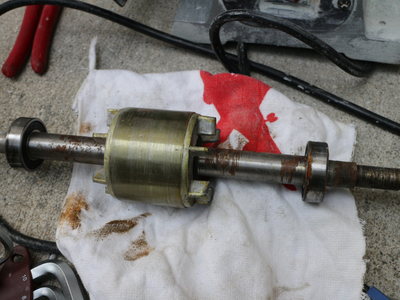
The rotor and the rod. Right-hand side bearing is stacked.
|
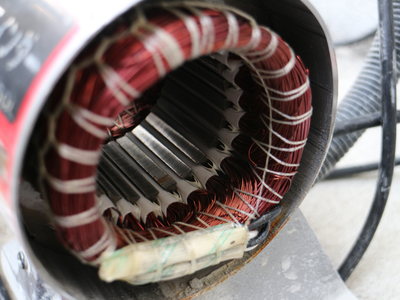
This is the driving coil of the
motor. However, at the bottom of this housing, we can found stone
powder. It means invaded water was coming to the center bottom of the
motor. Of course, the coil is not to touch the cover electronically; however,
it is necessary to make a line connected to the ground for avoiding
electric shock!.
|
 |
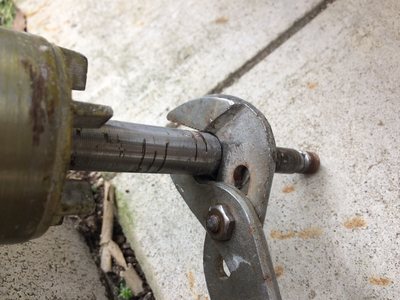 |
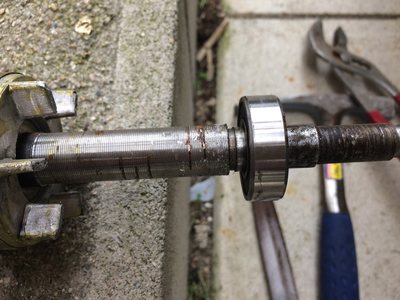
| The rusting bearing and the rod. After spraying silicon oil, it begins to remove the bearing. |
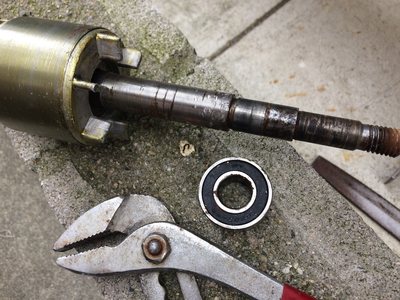
In this case, a professional uses a bearing remover; however, we use the standard tools like spanners or pliers.
To put a plier on the bearing and hit it with a hammer to remove it
downward. A wooden board is used to keep the rod on the floor to avoid
the floor broken. It needs to move slowly and be careful. |
 |
 |
|
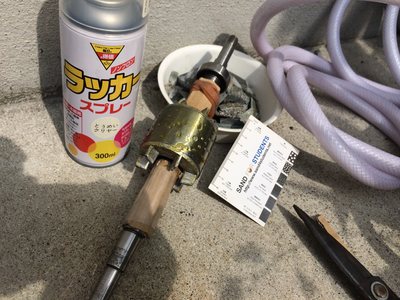
The bearing was removed safely. After that, we remove the rust by sandpaper and spray silicone oil.
|
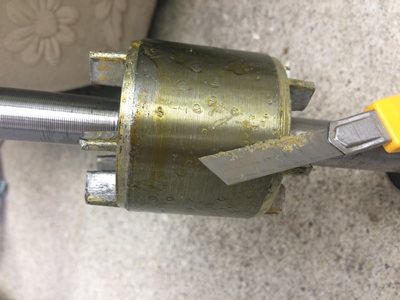
On the rotor, I used transparent
acrylic lacquer to prevent rusting; however, this caused a problem. The
original paint was melt and caused many air bubbles, so I had to remove
them using a cutter knife. Don’t do anything unnecessary.
|
 |
 |
I used a cutter to remove the excess air bubbles.
|
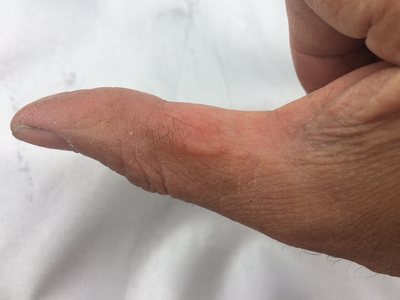
After polishing the shaft with sandpaper, I put too much force on my fingers and made a painful blister on the right hand thumb!
|
 |
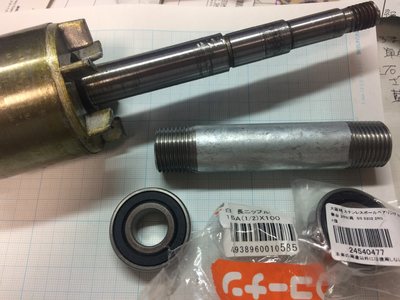 |
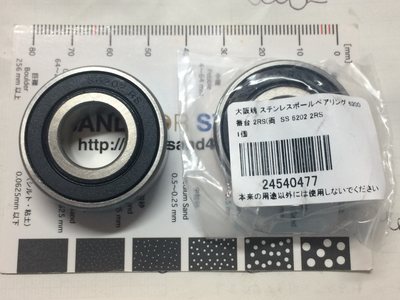
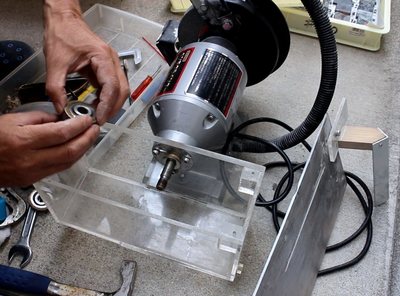
Stainless steel bearings to
replace. Purchased from a Netshop (about 500 yen). I bought one more as a
spare. It is a very general one. However, choose one with rubber seals.
|
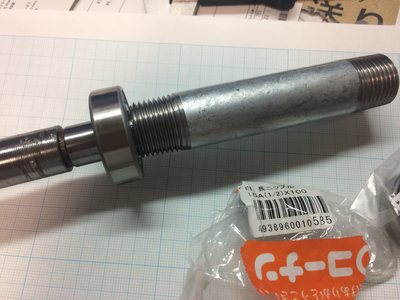
Next, we need an auxiliary pipe to fix the bearing onto the shaft, so
we purchase a pipe named iron nipple pipe from a DIY center. This inner
width is 16mm and fits the shaft radii with 1mm space for the 15mm shat.
|
 |
 |
Then the bearing is put in the
middle of the shaft and hit the covering pipe with a hammer to the left
carefully. The space of the bearing is seen left of the photo.
|
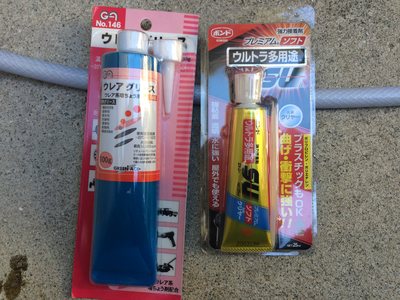
Next, we use an aluminum plate and some amount of grease for preventing invasion by the water. Also, we need glue for metal.
|
 |
 |
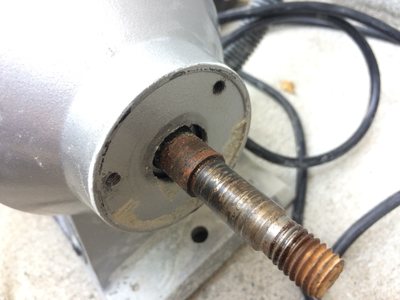
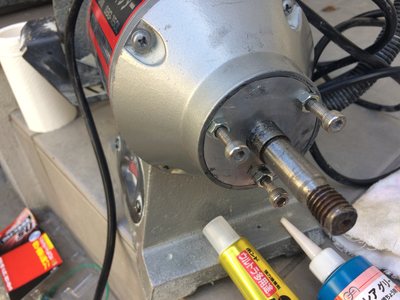
In our original motor, you can find a wide space for an invasion of water.
|
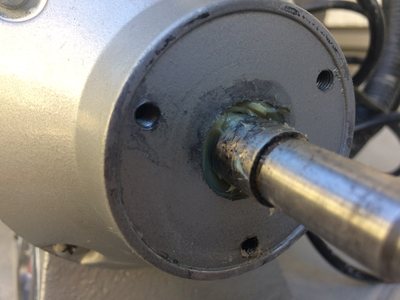
Therefore, we fill the space by grease, and you can find a donut-like narrow hollow at the end of the motor housing. |
 |
 |
|
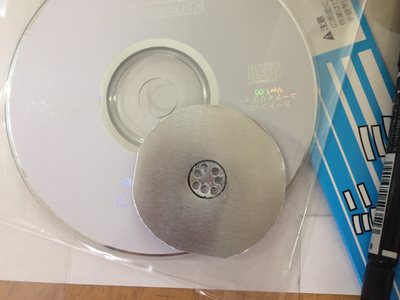
The water cover is made from a thin aluminum plate 0.5mm thickness, And the center hole is drilled by a hand reamer with spaceless to the motor shaft. Also, we need to drill three holes to fix the plate to the motor housing.
|
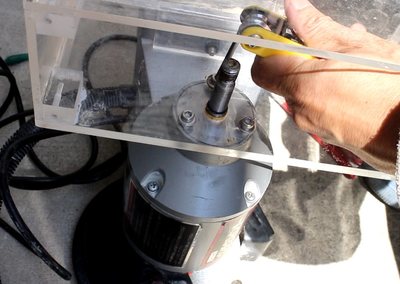
The plate for preventing water covers the end of the motor housing. The
adhesive for metal is now waiting for fixed. For putting adhesive, it
is important
to clean up the surface to remove the grease and oil with acetone
(manicure remover). The blue tube is grease, and the yellow one is an
adhesive for metal. The space between the motor shaft and the water
cover is very narrow. The first repairing day is over, and we wait for
the fix of adhesive. |
 |
 |
|
On the next day, the water tank is assembled on the motor housing with the three bolts, and one for the machine base. The details are as follows,
http://seagull.stars.ne.jp/2019_Rock_Saw/index.html |
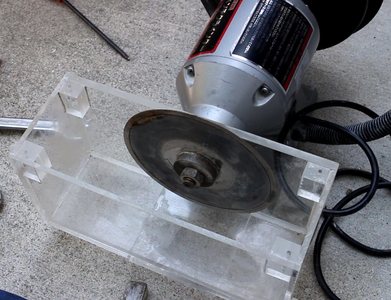
Next, it needs to assemble the arbors and a diamond saw blade.
|
 |
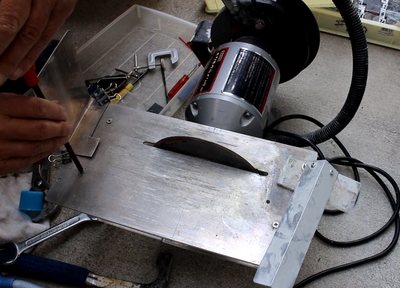 |
The diamond saw is fixed by two aluminum arbors.
|
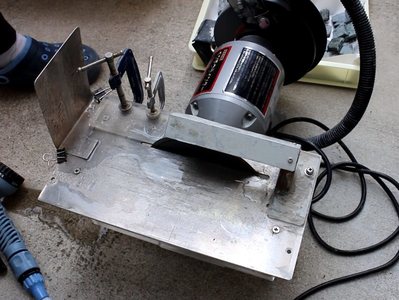
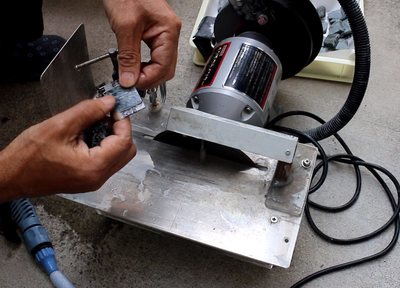
The aluminum table (the water tank cover) is also attached.
|
 |
 |
|
Reassembled
rock saw now started on the switch, however, it could not rotate! This
may cause by the friction of water cover and the shaft. So, the
second time, we help the rotation by hand, then the rotation starts
successfully!
|
After that, we tried to cut some
samples. No trouble happens. We do not know about the potential of
stainless steel bearing, so we have to wait a long time to evaluate this
repairing.
|


